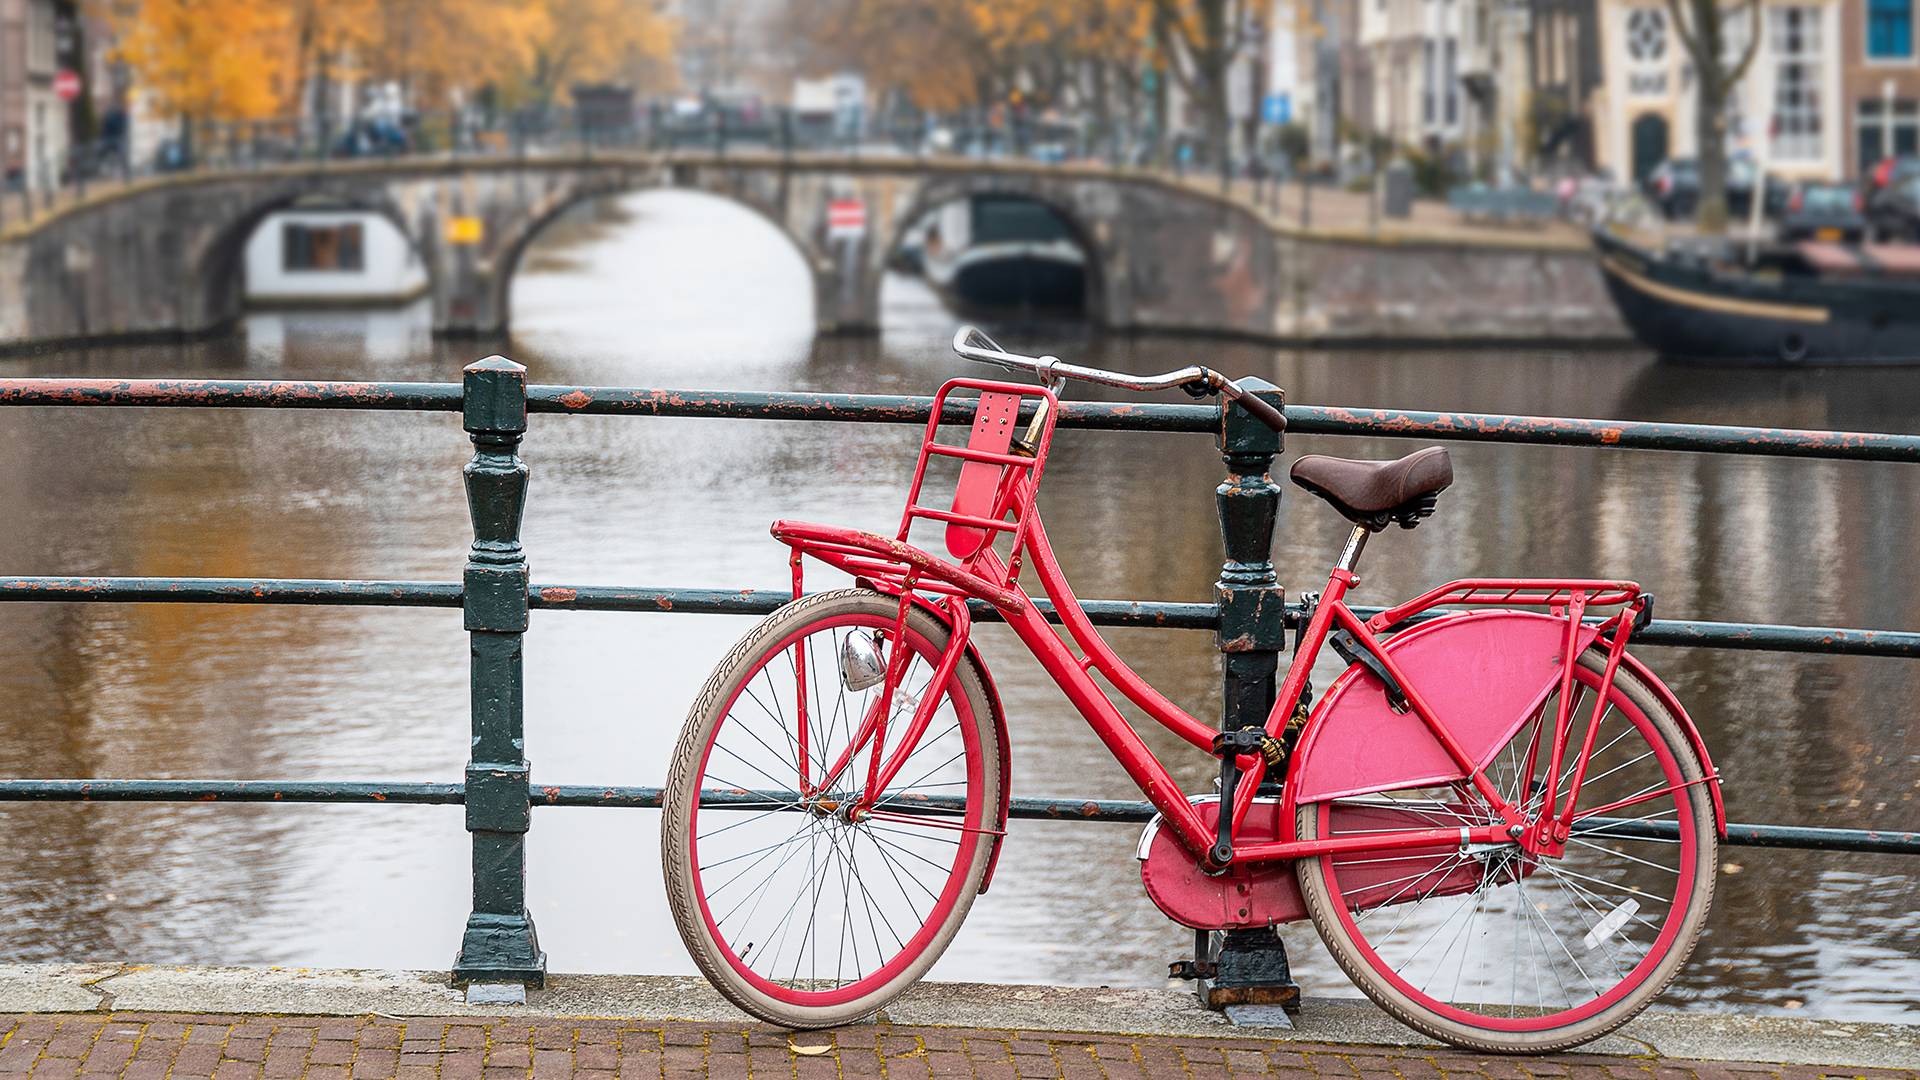
As someone who often rides a bike, I understand the annoyance and hassle that come with getting a flat tire. It doesn’t matter if you’re riding to your job or enjoying a picturesque trail, experiencing a flat tire unexpectedly can ruin your plans in an instant. However, knowing why flat tires happen, how to prevent them, and the steps to repair them can significantly help in steering clear of this typical biking issue.
In this article, I’ll delve into the technical aspects of flat bicycle tires, providing you with the knowledge and tools you need to stay on top of your cycling game. From identifying the causes of flats to preventative measures and fixing them, I’ll cover all the bases to ensure you’re prepared for any situation.
So, whether you’re a seasoned cyclist or just starting out, read on to learn more about flat bicycle tires.
Key Takeaways
- Flat tires can be caused by riding over sharp objects or improper inflation.
- Preventative measures such as regularly checking tire pressure, inspecting tires for wear or damage, using puncture-resistant tires, and avoiding obstacles on the road can help prevent flats.
- Choosing the right tire depends on riding style and proper pressure is crucial.
- Tools and proper technique for fixing a flat include tire levers, replacement inner tube, pump or CO2 inflator, and properly inflating the tire. Patching may be cost-effective but replacing may be necessary for larger punctures or tears. Regular tire inspection is necessary to check for cuts, punctures, bulges, worn tread, and proper inflation to maintain healthy tires and ensure a safe and comfortable ride.

ThinkRider X2Max Smart Bike Trainer Cycle Trainer Bicycle Trainer, Quiet Portable Design for Indoor Driving, Simulates 18% Slope, ANT + & BLE
Strong compatibility: Supports BLE and ANT + dual mode protocols and is compatible with mainstream cycling software such...
As an affiliate, we earn on qualifying purchases.
Understand the Common Causes of Flat Tires
You’ll want to know the common causes of flat tires so you can avoid them and keep pedaling smoothly. There are a few things that can cause a flat tire, and understanding them can help you prevent them from happening.
One of the most common causes is simply riding over sharp objects, such as glass, nails, or thorns. These objects can pierce the tire and cause a puncture.
Another common cause is improper inflation. When a tire is underinflated, it is more susceptible to getting a pinch flat, where the rim of the wheel pinches the tire and causes it to puncture. Overinflation can also cause a flat tire, as it puts too much pressure on the tire and can cause it to burst.
Knowing the causes and prevention of flat tires is important not only for safety but also for impact on cycling performance. A flat tire can significantly slow down your ride, causing you to use more energy and take longer to reach your destination.
To prevent flat tires, make sure to regularly check your tire pressure and inflate them to the recommended level. Inspect your tires for any signs of wear or damage, and replace them if necessary. Avoid riding over sharp objects as much as possible, and if you must, try to go around them.
By taking these preventative measures, you can avoid the frustration and inconvenience of a flat tire.

Wahoo KICKR V6 Smart Indoor Trainer
WiFi Connectivity - Offering a robust 2.4 GHz Wi-Fi connection, the new KICKR transfers ride data to your...
As an affiliate, we earn on qualifying purchases.
Preventative Measures
As a cyclist, I always make sure to use puncture-resistant tires to reduce the risk of getting a flat tire. Regularly checking tire pressure is also important to maintain optimal performance and avoid potential damage.
Additionally, I try to avoid obstacles on the road, such as potholes or debris, which can cause damage to the tires and increase the likelihood of a flat. By following these preventative measures, I can minimize the chances of experiencing the frustration and inconvenience of a flat bicycle tire.
Use Puncture-Resistant Tires
If you want to avoid the hassle of fixing flat bicycle tires, try using puncture-resistant tires! These types of tires provide a lot of advantages, such as being able to protect against thorns, glass, and other sharp objects that can puncture regular tires. With puncture-resistant tires, you don’t have to worry about getting a flat tire during your ride.
There are different types of puncture-resistant tires available in the market. One type is the Kevlar-belted tire, which has a layer of Kevlar between the tire tread and the casing. Another type is the bead-to-bead tire, which has a layer of puncture-resistant material that covers the entire tire, from bead to bead.
Choosing the right type of puncture-resistant tire for your needs depends on the type of terrain you’ll be riding on and the level of protection you want. With these types of tires, you can enjoy a worry-free ride and avoid the hassle of fixing flat tires.
Now, let’s move on to the next step, which is to check tire pressure regularly.
Check Tire Pressure Regularly
Don’t let a simple oversight ruin your ride – keep your bike performing at its best by regularly checking tire pressure!
Maintaining proper tire pressure is crucial to your biking experience. The importance of pressure cannot be overstated – when tires are underinflated, they become vulnerable to damage, making them more susceptible to punctures and flats. Additionally, underinflation can cause the tire to wear out quickly and negatively affect your ride’s stability and handling.
Avoiding underinflation is simple – all you need is a tire pressure gauge and a pump. Check your tire pressure before each ride and inflate to the recommended pressure listed on the tire sidewall.
It’s essential to note that tire pressure can fluctuate based on temperature changes, so check it more frequently during extreme weather conditions. By maintaining proper tire pressure, you’ll not only avoid flats but also enjoy a smoother, more efficient ride.
Now, let’s move on to the next section about avoiding obstacles on the road.
Avoid Obstacles on the Road
Navigating the road ahead requires a keen eye and quick reflexes, especially when it comes to avoiding obstacles like potholes, debris, and other hazards that could throw you off course. As a cyclist, it’s essential to know how to avoid these hazards and maintain balance on your bike. One way to improve balance on your bicycle is by keeping your weight centered and distributed evenly on both wheels. This means avoiding sudden movements or jerks, which can throw you off balance. Instead, try to anticipate obstacles on the road and adjust your speed and direction accordingly.
Another crucial factor in maintaining balance and avoiding flat tires is choosing the right tires for your riding style. The table below provides tips for selecting the right tire based on your riding needs.
| Riding Style | Tire Type | Tire Pressure |
|---|---|---|
| Road Cycling | Narrow, smooth tread | 80-120 psi |
| Commuting | All-purpose, puncture-resistant | 60-80 psi |
| Mountain Biking | Wide, knobby tread | 30-50 psi |
By selecting the proper tire type and maintaining the correct tire pressure, you can improve your balance and reduce the risk of getting a flat tire. However, even with the best tires and technique, flat tires can still occur. In the next section, we will discuss how to fix a flat tire quickly and efficiently.

Wahoo Fitness KICKR CORE 2 ZWIFT COG and Click - Orange Cog 3rd Generation
KICKR CORE Zwift is the smarter way to start riding indoors. The new KICKR CORE builds on the...
As an affiliate, we earn on qualifying purchases.
Fixing a Flat Tire
When you’re out cycling and you inevitably get a flat tire, fixing it is a necessary skill to have. First, it’s important to properly inflate your tires to avoid flats in the first place. Check the recommended tire pressure on the sidewall of the tire and use a pump with a pressure gauge to inflate the tire to the correct PSI. Overinflated or underinflated tires are more prone to flats.
However, if you do get a flat tire, it’s important to have a patch kit on hand. These kits usually include a small piece of rubber and adhesive to patch the hole in the tire. To use a patch kit, locate the hole in the tire and roughen the area around it with sandpaper. Apply the adhesive and wait for it to dry.
Then, place the rubber patch over the hole and press firmly. Inflate the tire and check for leaks. If all is well, you’re ready to hit the road again.
Now, let’s talk about the tools needed to fix a flat tire.

Garmin Tacx Neo 2T Smart Trainer
Material: metal, plastic
As an affiliate, we earn on qualifying purchases.
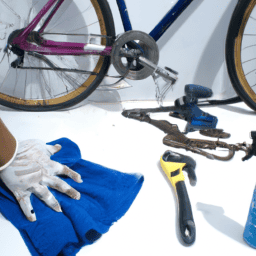
Tools Needed
When it comes to fixing a flat bicycle tire, having the right tools is essential. In my experience, the three most important tools to have on hand are tire levers, a replacement inner tube, and either a pump or CO2 inflator.
Tire levers are necessary for removing the tire from the rim, while a replacement inner tube ensures that you’ll be able to get back on the road quickly. Finally, a pump or CO2 inflator is crucial for re-inflating the tire once you’ve made the necessary repairs.
Tire Levers
Using tire levers is the easiest way for me to remove a flat bicycle tire and replace it with a new one. Proper technique is key when using tire levers to prevent damaging the tire or rim.
First, I need to release the brake and flip the bike over, resting it on the handlebars and seat to make it easier to access the tire. Then, I insert the blunt end of the tire lever between the tire and the rim, hooking it under the bead of the tire.
I slide the lever around the rim, popping off one side of the tire bead. I repeat the process with a second tire lever on the other side of the tire, pulling the tube out of the tire once it’s loose.
While there are alternative options to using tire levers, like using my hands to remove the tire or using a CO2 cartridge to inflate it, tire levers provide the most efficient method for me. After removing the flat tire, I can begin to replace the inner tube.
Replacement Inner Tube
Now that we’ve successfully removed the tire, let’s replace the inner tube! The first step is to select a replacement inner tube that matches the size and width of your tire.
There are different types of inner tubes available, including standard butyl rubber, lightweight latex, and puncture-resistant options. It’s important to consider the advantages of patching versus replacing inner tubes. While patching a tube is a cost-effective option, it may not be a long-term solution for larger punctures or tears. Replacing the inner tube entirely may be necessary in these cases to ensure a safe and reliable ride.
Once you’ve selected the appropriate replacement inner tube, it’s time to install it. First, inflate the tube slightly to give it some shape. Then, insert the valve stem through the hole in the rim and tuck the tube into the tire, making sure it’s not twisted or bunched up.
Carefully work the tire back onto the rim, starting at one side and working your way around to the other side. Finally, inflate the tire to the recommended pressure using a pump or CO2 inflator.
Speaking of inflating, let’s move on to the next step and discuss pump or CO2 inflator options.
Pump or CO2 Inflator
Don’t forget to bring a pump or CO2 inflator on your next ride to ensure a smooth and stress-free cycling experience. When it comes to inflating flat bicycle tires, both options have their pros and cons. A pump is a more traditional and reliable option. It allows for more control over the pressure and can be used multiple times without needing a refill. However, it can be a bit heavy and bulky to carry around on a ride. On the other hand, a CO2 inflator is lightweight and compact, making it a convenient option for on-the-go repairs. It also inflates tires quickly, saving time and effort. However, it’s a one-time use option and can be more expensive in the long run.
To help you choose the best brand for inflating tires, here’s a table comparing some of the top options for pumps and CO2 inflators:
| Pump Brands | Features | Price Range |
|---|---|---|
| Topeak | Durable, flexible hose, accurate gauge | $20-$100 |
| Lezyne | Compact, high-pressure capacity, easy to use | $20-$120 |
| Blackburn | Dual head valve, sturdy base, ergonomic handle | $15-$60 |
| CO2 Inflator Brands | Features | Price Range |
|---|---|---|
| Genuine Innovations | Compact, easy to use, includes cartridges | $10-$40 |
| Vibrelli | Includes cartridges, compatible with both Presta and Schrader valves | $15-$25 |
| Pro Bike Tool | Durable, includes cartridges, precise control over inflation | $20-$30 |
Remember, keeping your tires properly inflated is just one aspect of maintaining healthy tires. So, let’s move on to some tips for keeping your tires in good condition.
Tips for Maintaining Healthy Tires
Ensuring your bike tires remain in good condition is key to a smooth and enjoyable ride. Proper inflation is crucial to avoid flat tires and improve your bike’s performance.
Make sure to check your tire’s recommended pressure and use a reliable gauge to measure the pressure accurately. Under-inflated tires can cause pinch flats, while over-inflated ones can lead to a bumpy and uncomfortable ride. Additionally, tire pressure affects your bike’s handling and grip, so it’s essential to maintain it at the optimal level.
Regular tire inspection is also necessary to keep them healthy. Check your tires for any cuts, punctures, or bulges that may cause them to fail. Also, make sure the tread is in good condition and not worn out. Worn-out tires can lead to reduced traction and increase the risk of skidding, especially on wet surfaces.
A simple trick to check if the tread is still good is to use a coin. Insert the coin into the grooves, and if the tread doesn’t cover the coin’s edge, it’s time to replace the tire.
By following these tips, you can maintain healthy tires and enjoy a safe and comfortable ride.
Frequently Asked Questions
How often should you replace your bicycle tires?
I replace my bicycle tires every 2,000 to 3,000 miles. Tubeless tires have pros and cons, with less flats being a pro. Tire pressure affects lifespan, with overinflation leading to premature wear and underinflation leading to pinch flats.
Can you ride on a partially flat tire or should you change it immediately?
When it comes to riding techniques, it’s not recommended to ride on a partially flat tire. This can cause instability and damage to the rim. Proper tire maintenance is essential to prevent flats and ensure safe riding.
Is it necessary to carry spare tubes or can you patch a punctured tube?
Patching punctured tubes can be a lifesaver, but carrying spare tubes is the best practice. While patching is cost-effective and eco-friendly, it’s time-consuming and not always effective. Spare tubes ensure a quick fix, making it easier to get back on the road.
How do you know if your tire needs to be inflated or if it’s already at the right pressure?
To ensure optimal performance and safety, it’s crucial to maintain proper tire pressure. Signs of underinflation include sluggishness and increased rolling resistance, while overinflation can lead to reduced traction and a harsh ride. Regularly check and adjust pressure as necessary.
Are there any specific tire brands or models that are more prone to getting flat tires?
I once had a flat on my road bike while using tubeless tires. Pros include reduced weight and increased puncture resistance. Cons include difficulty installing and potential for sealant leaks. Common causes of flat bicycle tires include punctures, pinch flats, and worn-out tires.
Conclusion
Overall, flat bicycle tires can be a frustrating and inconvenient experience for any cyclist. However, understanding the common causes of flat tires and taking preventative measures can greatly reduce the frequency of this problem.
Regularly checking tire pressure, avoiding sharp objects and debris on the road, and using high-quality tires can all contribute to a healthier tire lifespan. In the event of a flat tire, it’s important to have the necessary tools and knowledge to fix it quickly and efficiently. The process may seem daunting at first, but with practice, it can become a routine task.
It’s also important to maintain healthy tires by regularly inspecting them for any signs of wear and tear and replacing them when necessary. According to a survey conducted by the League of American Bicyclists, the most common cause of flat tires is punctures from glass or sharp objects on the road.
This highlights the importance of being vigilant while cycling and avoiding any potential hazards on the road. By taking the necessary precautions and staying informed on proper tire maintenance, cyclists can enjoy a smoother and safer ride.