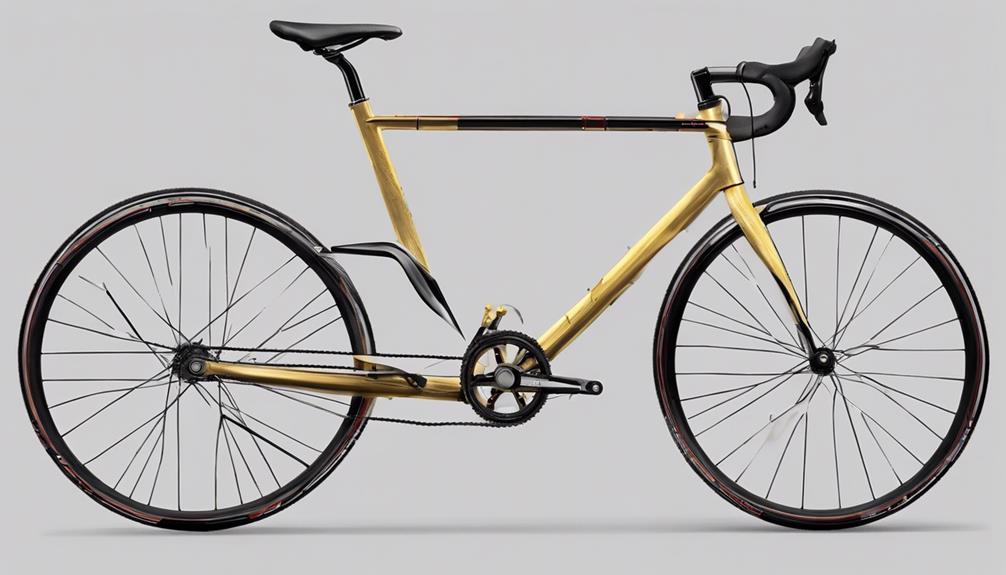

If you’re curious about the proper way to tighten the chain on your mountain bike, there are a few key steps to follow. Initially, ensure you aren’t exerting too much force on either the tire or the chain. Doing so can lead to damage to the chain. Indeed, a sharp tug on the tire could result in the chain snapping.
Shift one cog larger by clicking the shifter lever
Shifting one cog larger by clicking the shifter is one way to improve chain tension on your mountain bike. You need to make sure that the shift cable is properly adjusted and your chain is not jumping out of the cog. It also helps to check the cable tension every now and then by pedaling in front of your bike.
If your shifting on your bike is slow, it may be a kink in the shift cable housing. This can happen as a result of a crash or by accidentally flipping your shift stick over. In such a case, you should reverse the kinks on the cable housing to allow the cable to pass more smoothly.
If your chain lags during your upshifts, you need more chain tension. To adjust the tension on your mountain bike, shift one cog larger by clicking the shifter leash. You can also increase the tension by turning the barrel adjuster a quarter turn counterclockwise.
If you have a rear derailleur, you can also adjust the tension by clicking the shifter lever in the small ring. This is a good way to adjust the chain tension because it allows the chain to smoothly move back down to the small chain ring. However, you need to be careful not to overdo the adjustment because it may result in shifting problems.
Using the shifter lever to adjust the chain tension on your mountain bike is easy. First, you need to shift to a gear that will allow you to pedal smoothly. If you’re using a manual derailleur, you need to shift to the second or third biggest cog. Then, you need to wind the low stop screw and then wind out the high adjuster. You can repeat the process until your chain runs smoothly.
If you’re experiencing shifting problems, you may need to adjust the derailleur. If the issue is only happening while shifting between cassettes, the hanger may be bent forward. If so, simply turn the B screw clockwise to move the upper pulley 5-6mm away from the largest cog.

ROCKBROS Rear Bike Cargo Rack Quick Release Bike Carrier Rack with Fender Mountain Road Bicycle Rear Racks
QUICK RELEASE CLAMP for easily mount on the seat post or take the rear bike rack off, you...
As an affiliate, we earn on qualifying purchases.
Drag or pull the rear tire backwards
There are several ways to adjust the chain tension on a mountain bike. One method is to pull or drag the rear tire backwards. To do so, start by positioning the tire levers so that they line up. The first tire lever will be hooked onto the spoke closest to the tire. Next, position the second tire lever over the second spoke. The third tire lever should be hooked onto the tire opposite the first two. Once the tire is loose enough, pull it over with the tire levers.
Before you begin your adjustment process, you need to determine the correct seating position of the rear tire. Most tires feature a witness line on the sidewall. If you cannot locate the witness line, you can spin the wheel to determine where the bulge is located. Make sure the bead of the tire doesn’t sit on the inner tube or rim strip. Otherwise, you risk damaging the tire bead.
For a better fit, try a Kool Stop bead jack. It allows you to lift the outer edge of the tire without going inside. This tool is safer than a conventional tire lever, as it won’t damage the inner tube.
To loosen the axle nuts, you can use an adjustable wrench. A wrench can loosen the nuts more easily, but pliers won’t work very well and may even damage the axle. If you do get caught, drag or pull the rear tire backwards to adjust chain tension on mountain bike.
A quick-release axle is another way to adjust chain tension on a mountain bike. It consists of a hollow skewer with an acorn-shaped nut on one end, and a cam mechanism on the other end. A quick-release axle can be loosening or tightening by flipping its handle.
A clincher tire is the most common type of tire used on bikes. It is held onto the rim by a mechanical fit. A clipless pedal is also another method.

CXWXC Rear Bike Rack with Basket - Bike Cargo Rack for Disc Brake/Non-Disc Brake Mount - Bicycle Pannier Rack, Touring Carrier Rack fit 26”-29” and 700c (Bike Rack)
【Make Sure it fits Your Bike Before Order】: Make sure if your bicycle have eyelets next to the...
As an affiliate, we earn on qualifying purchases.
Check the tightness of the chain
Check the tightness of your mountain bike chain regularly. Checking the chain is essential to ensure that the bike is functioning properly and will not cause you any problems while riding. If the chain is loose or too loose, it could be due to worn bearings or a loose bottom bracket. Check that the chain is tight and moves freely when you shift gears.
During riding, the chain tightens as the rear shock compresses. A quick way to determine if your chain is too loose is to adjust the derailleur screw. Once you’ve adjusted it properly, you can measure the length of the chain. It’s also a good idea to lubricate your chain regularly and clean it once a month.
Generally, the chain on a bike can be tight or loose by about a half-inch. A loose chain is dangerous, and can cause problems when changing gears. A chain that is too tight will wear out your drivetrain and chainring teeth. Additionally, an overly-tight chain can cause problems while pedaling and can even cause the chain to fly off.
The next time you’re at the bike shop, don’t forget to check the tightness of your chain. The bike chain should move a half-inch either way when the tire pulls back. The movement is a sign that the chain is not tight enough. If it moves too much, your pedals will not turn.
If your mountain bike chain is too tight, make sure to loosen it a half-inch. This way, the chain won’t be prone to popping out and will reduce your power. In the event you want to loosen it, slide the rear wheel back and forth a few times.
Another way to check the chain’s tension is to use a finger check. To do this, place three fingers behind the chain slider. You should be able to feel the chain taut against your fingers. If you see that it is too loose, adjust it.

Ibera Bike Rack - Bicycle Touring Carrier Plus+ for Disc Brake Mount, Frame-Mounted for Heavier Top & Side Loads, Height Adjustable for 26"-29" Frames
Frame-mounted for heavier top and side loads with disk mounts
As an affiliate, we earn on qualifying purchases.
Using a bike tensioner
Using a bike tensioner is a great way to keep your bike’s chain tight and prevent a fly-off chain. You can adjust the tension by pulling the chain back and forth or pushing it up and down. Many bikes have a tensioner built into the frame. Others can be purchased separately.
A loose chain is a major problem, especially for multigear bikes. Not only will the chain lose tension when you’re pedaling, it can also cause injuries. A loose chain can also cause you to slide out of hairpin turns or other difficult sections of the trail. Fortunately, modern mountain bikes are built with a high-tech rear derailleur with a tension pulley. Adjusting the tension on your mountain bike chain is a simple process that will keep your bike in good condition.
If your mountain bike doesn’t have a bike tensioner, you can do some basic adjustments without one. First, you need to loosen the back wheel. It should be finger-tight. Then, you can adjust the tension on the bike’s chain by using the wrench and a socket wrench.
If you’re not confident enough to make this adjustment on your own, you can always take it to a bike shop and have a professional do it for you. Taking a few minutes to check the tension on your mountain bike is an easy way to prevent the bike from getting stuck in a dangerous situation. Just remember to keep your fingers away from the sprockets and tire while you’re doing it.
The next step is to locate the derailleur. You can find the derailleur screw on the back of the bike, next to the letter “B.” Turn the screw counterclockwise until the chain is perfectly aligned. If the chain rubbing while riding on the larger gear, the tension may be too high and you need to loosen the cable tension.
You can also check your derailleur hanger with a gauge. This is a simple tool that helps you check the alignment of your derailleur hanger and prevent shifting problems. You can also use a bike tensioner to adjust the chain tension on a mountain bike that has vertical dropouts.

YONTUO Rear Bike Rack,115 LB Capacity Solid Bearings Bike Cargo Rack w/Fender & Large Size Reflective,Quick Release Mountain Road Bicycle Rear Racks,Universal Bike Luggage Touring Carrier Rack
【High Quality Materials and Construction】The bike rear rack is made of high quality hard Aluminum Alloy.This material is...
As an affiliate, we earn on qualifying purchases.