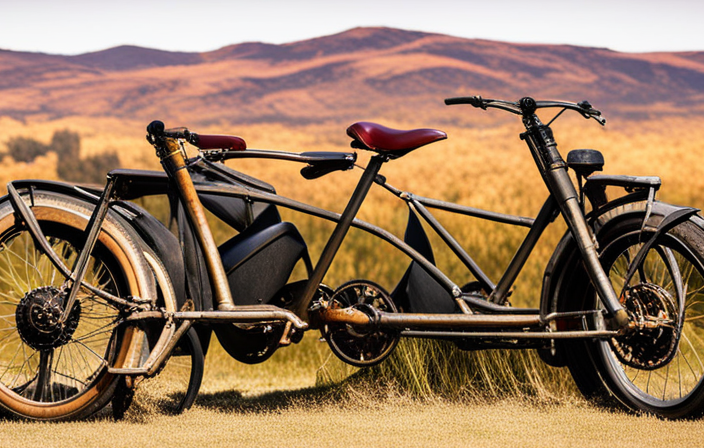

I’m gonna show you how to build your own retro electric mini bike.
Picture this: cruising down the street on a sleek, vintage-inspired ride that’s also eco-friendly. Sounds pretty cool, right? Well, with a suitable frame, the right electrical components, and some customization, you can make it happen.
In this article, I’ll guide you through the process, from sourcing the parts to taking your mini bike for a test ride. So, grab your tools and let’s get started on this exciting project.
Key Takeaways
- Troubleshoot and address any electrical issues before proceeding with the build
- Install and maintain brakes and safety features to ensure optimal performance and prevent accidents
- Regularly inspect and maintain the battery, tires, and chain for longevity and smooth operation
- Follow precautions during a test ride to ensure safety and enjoy the retro electric mini bike experience.

COOSPO Color Touchscreen GPS Bike Computer CS600, Wireless IPX7 Waterproof Cycling GPS Speedometer with Bluetooth/ANT+, Backlight Route Navigation, Support Bike Radar & 36H Battery Life
2.4" HIGH-RESOLUTION COLOR TOUCHSCREEN: Features auto-backlight technology that intelligently adjusts to ambient light, ensuring optimal visibility and effortless...
As an affiliate, we earn on qualifying purchases.
Choose a suitable frame for your retro electric mini bike
You’ll need to find a frame that fits your vision and the specifications of your retro electric mini bike. When choosing the right frame, there are several factors to consider.
First, think about the size and weight capacity of the frame. Ensure that it can support the weight of the electric components and the rider.
Next, consider the style and design of the frame. If you want a more authentic look, you may want to explore the option of finding vintage frames. These frames can give your mini bike a classic and nostalgic feel. Look for frames that are in good condition and have minimal rust or damage.
Once you have chosen the perfect frame, you can transition into the next step of sourcing the necessary electrical components.
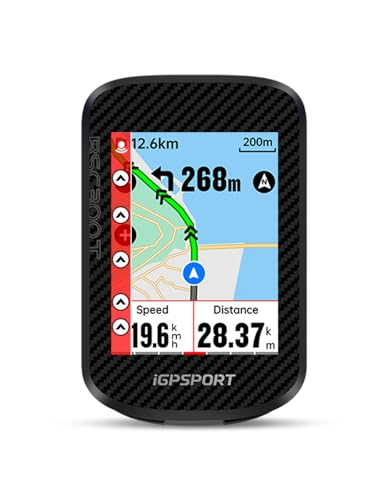
iGPSPORT BSC300T Wireless Bike Computer GPS, Touchscreen Offline MAP Navigation Off Course Warning Compatible with Insta360, for Ebike Road Bike MTB (Touch Screen&Button)
【Large Screen】The BSC300T wireless bike computer equipped with a 2.4'' touch screen and 6 buttons, allowing you to...
As an affiliate, we earn on qualifying purchases.
Source the necessary electrical components
To source the necessary electrical components, make sure you’ve got a list of what you need and check online for suppliers.
When building a retro electric mini bike, sourcing vintage components can add an authentic touch to your creation. However, finding these components can be challenging and expensive. Luckily, there are affordable alternatives available that can still give your bike that retro feel.
Online marketplaces and forums dedicated to vintage electronics are great places to start your search. You can also consider salvaging parts from old electronics or reaching out to local vintage enthusiasts.
By being resourceful and exploring different options, you can find the electrical components you need without breaking the bank.
With these components in hand, it’s time to move on to the next step: installing the electric motor and battery.

Magicshine HORI1300S Bike Headlight, Compatible with Garmin/Wahoo, 1300 Lumens High & Low Beam Front Light, USB-C Rechargeable, IPX6 Waterproof for Night Riding and Urban Cycling-Black
DUAL OPTICS, HIGH & LOW BEAM: Max 1300LM high beam conquers the darkest trails. The anti-glare low beam...
As an affiliate, we earn on qualifying purchases.
Install the electric motor and battery
Now that you’ve sourced the necessary electrical components, it’s time to install the electric motor and battery. This step is crucial in building your retro electric mini bike. The electric motor installation requires precision and attention to detail. Ensure that you have the necessary tools and equipment before you begin. Follow the manufacturer’s instructions carefully to ensure proper installation. Similarly, the battery installation is a critical part of the process. Make sure you choose a suitable location for the battery, considering factors such as weight distribution and accessibility. To engage the audience, here’s a table highlighting the key steps for both electric motor and battery installation:
| Electric Motor Installation | Battery Installation |
|---|---|
| Step 1: Position the motor in the designated area | Step 1: Choose a suitable location for the battery |
| Step 2: Secure the motor using bolts and brackets | Step 2: Connect the battery cables to the designated terminals |
| Step 3: Connect the motor wires to the controller | Step 3: Secure the battery in place using brackets or straps |
| Step 4: Test the motor and ensure proper functioning | Step 4: Double-check all connections and ensure proper insulation |
| Step 5: Adjust motor position if necessary | Step 5: Perform a final check and ensure the battery is secure and protected |
With the electric motor and battery successfully installed, we can now move on to the next section – assembling the wheels and suspension system.

2026 Upgrade 9800Lumen Bike Light for Night Riding,Super Bright 6 LED Headlight,Aluminum 10 Mode Rechargeable Bicycle Light Front and Rear,360°Rotatable Brackt,Waterproof,Runtime 72 hr,Road Shockproof
【700DAYS Support] 】:If your bike light have any problem, please to pass us on through Amazon for the...
As an affiliate, we earn on qualifying purchases.
Assemble the wheels and suspension system
Once the electric motor and battery are in place, it’s time to start assembling the wheels and suspension system. This crucial step ensures a smooth and stable ride for your retro electric mini bike. Here’s a breakdown of the process:
-
Wheel Assembly:
- Attach the tires to the rims using tire levers for ease.
- Align the rims with the wheel hubs and secure them with bolts.
- Install the brake discs on the rims and secure them tightly.
-
Suspension Tuning:
- Adjust the preload on the suspension springs to optimize ride comfort and handling.
- Fine-tune the compression and rebound settings to suit your preferences.
- Check and adjust the sag, which determines how the suspension responds to weight transfer.
By following these steps, you’ll have a well-assembled wheel and suspension system that will enhance the performance of your retro electric mini bike.
Next, let’s explore how you can customize its appearance with retro-inspired accessories.
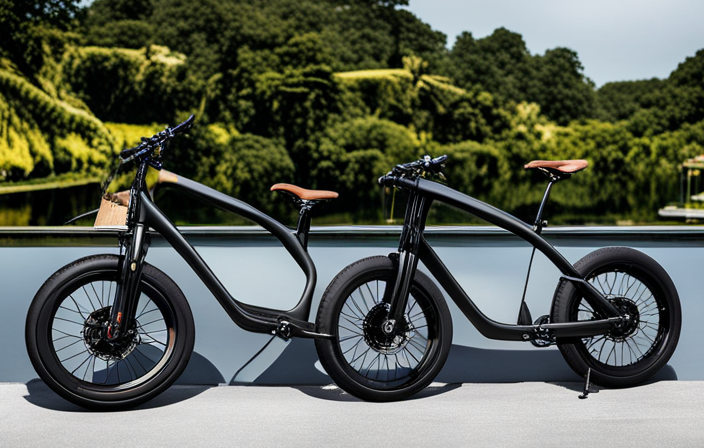
Customize the appearance of your mini bike with retro-inspired accessories
Enhance the look of your ride with vintage-inspired accessories that add a touch of nostalgia to your mini bike. When it comes to customizing the appearance of your mini bike, retro-inspired accessories are the perfect way to achieve a unique and stylish look. From vintage-inspired decals to classic handlebars, these accessories will make your mini bike stand out from the crowd.
To give you an idea of the options available, here is a table showcasing some popular retro accessories:
| Accessory | Description |
|---|---|
| Vintage-inspired decals | Add a splash of retro flair to your mini bike with these stylish decals. Choose from a variety of designs and colors to suit your personal style. |
| Classic handlebars | Upgrade your mini bike’s handlebars with a set of classic-style bars. Not only do they look great, but they also provide a comfortable and ergonomic grip. |
| Retro headlight | Give your mini bike a vintage look with a retro-style headlight. These headlights are not only functional but also add an extra level of style to your ride. |
| Leather saddle seat | Complete the retro look with a leather saddle seat. Not only do these seats look great, but they also provide a comfortable and stylish riding experience. |
Ensure proper wiring and electrical connections
To ensure everything functions smoothly, make sure you’ve properly wired and connected the electrical components of your customized ride.
Proper wiring and electrical connections are crucial for the overall performance and safety of your retro electric mini bike.
When building your bike, it’s important to troubleshoot common electrical problems such as loose connections, short circuits, or faulty components.
One key aspect to consider is the importance of proper grounding. Grounding provides a safe path for excess electrical current to flow into the ground, preventing potential electrical shocks and damage to the components.
By ensuring all electrical connections are secure and properly grounded, you can minimize the risk of electrical malfunctions and maximize the efficiency of your mini bike.
Once you’ve completed the wiring and connections, it’s time to test and troubleshoot any issues with the electrical system.
Test and troubleshoot any issues with the electrical system
Make sure you’ve properly tested and troubleshooted any issues with the electrical system to ensure smooth functioning of your customized ride.
One of the most crucial components to troubleshoot is the battery. Check its voltage using a multimeter and ensure it is holding a charge. If not, you may need to replace it.
Additionally, inspect the battery connections for any loose or corroded wires.
Another important aspect to troubleshoot is the motor. Test it by connecting it directly to a power source and observing if it spins smoothly. If there are any unusual noises or vibrations, it may indicate a problem.
Once you’ve addressed any electrical issues, you can move on to installing brakes and other safety features, ensuring a safe and enjoyable ride.
Install brakes and other safety features
Once you’ve finished troubleshooting the electrical system, it’s time to install the brakes and other safety features for a secure and worry-free ride. Safety precautions should always be a priority when working on any vehicle, and building a retro electric mini bike is no exception. When it comes to brake maintenance, it’s crucial to ensure that the brakes are in optimal condition to provide reliable stopping power. Regularly inspect the brake pads for wear and tear, and replace them if necessary. Additionally, check the brake fluid levels and top them up if needed. To help convey the importance of brake maintenance, here’s a table showcasing the potential consequences of neglecting this crucial aspect of safety:
| Neglected Brake Maintenance | Potential Consequences |
|---|---|
| Worn Brake Pads | Reduced Stopping Power |
| Low Brake Fluid Levels | Brake Failure |
| Faulty Brake Lines | Loss of Control |
| Inadequate Brake Adjustments | Increased Stopping Distance |
| Ignoring Brake Warning Signs | Accidents and Injuries |
Now that the brakes and other safety features are installed, it’s time to take your retro electric mini bike for a test ride, ensuring everything is functioning properly and ready for the road.
Take your retro electric mini bike for a test ride
Now that the brakes and other safety features are installed, it’s time to hop on your retro electric mini bike and take it for a test ride.
Before embarking on this exciting journey, it’s crucial to ensure your safety and the optimal performance of your mini bike. Here are some essential safety precautions to keep in mind during your test ride experience:
-
Wear protective gear: Put on a helmet, gloves, and sturdy footwear to protect yourself from potential accidents or injuries.
-
Start in a controlled environment: Begin your test ride in an open space free from traffic or obstacles, allowing you to become familiar with the bike’s handling and responsiveness.
-
Gradually increase speed: Start with slow speeds and gradually build up to higher speeds, giving yourself time to adjust and react appropriately.
By observing these safety precautions, you can have a safe and enjoyable test ride experience.
Now, let’s explore how to maintain and care for your mini bike to ensure its longevity and performance.
Maintain and care for your mini bike to ensure its longevity and performance
To ensure the longevity and optimal performance of your mini bike, remember to regularly check and maintain its components. Proper maintenance is crucial for the safety and enjoyment of your rides.
Start by inspecting the battery regularly, ensuring it is properly charged and free from any leaks or damage.
Check the tires for any signs of wear or punctures, and maintain the recommended tire pressure for optimal performance.
Additionally, regularly lubricate the chain to prevent rust and ensure smooth operation.
It is also important to clean the bike after each ride, removing any dirt or debris that may have accumulated.
Frequently Asked Questions
How much does a retro electric mini bike typically cost to build?
Building a retro electric mini bike typically costs around $500-$1,500, depending on the components and quality. Cost breakdown includes battery ($200-$500), motor ($100-$300), frame ($100-$200), and miscellaneous parts. Cost-saving tips include sourcing used parts and DIY fabrication.
Can I use a regular bicycle frame for my retro electric mini bike?
Sure, using a regular bicycle frame for a retro electric mini bike is possible. However, a custom frame offers several advantages such as better weight distribution, improved battery placement, and increased stability.
Are there any specific tools or equipment required for installing the electric motor and battery?
To install the electric motor and battery, you will need basic tools like wrenches, screwdrivers, and pliers. Additionally, equipment such as wire cutters, crimping tools, and a soldering iron may be necessary. The installation process requires careful wiring and mounting, ensuring a secure and efficient connection. When choosing a battery, consider factors like capacity, voltage, and battery life for optimal performance.
What is the expected range and top speed of a retro electric mini bike?
The expected range of a retro electric mini bike depends on factors such as battery capacity and terrain, but it typically ranges from 20 to 40 miles. With a top speed of around 30 mph, it offers a thrilling ride with decent endurance.
How often should I recharge the battery for optimal performance?
For optimal battery performance, it is recommended to recharge the battery of a retro electric mini bike at least once a week. This frequency ensures that the battery remains in good condition and provides consistent power during rides.
Conclusion
Well, there you have it folks! You’ve successfully built your very own retro electric mini bike.
Now, get ready to turn heads on the streets with this unique, nostalgic ride.
Not only will you be cruising in style, but you’ll also be doing your part for the environment.
Who needs a fancy, modern electric bike when you can have a mini bike that oozes retro charm?
So hop on, embrace the vintage vibes, and let the world marvel at your masterpiece.
Ride on, my fellow time-travelers!