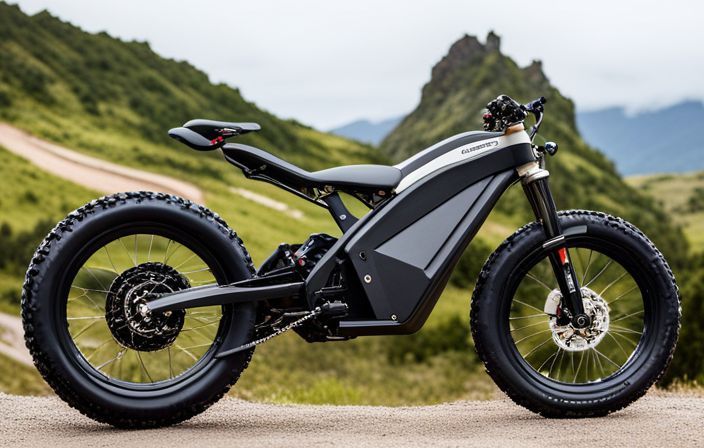
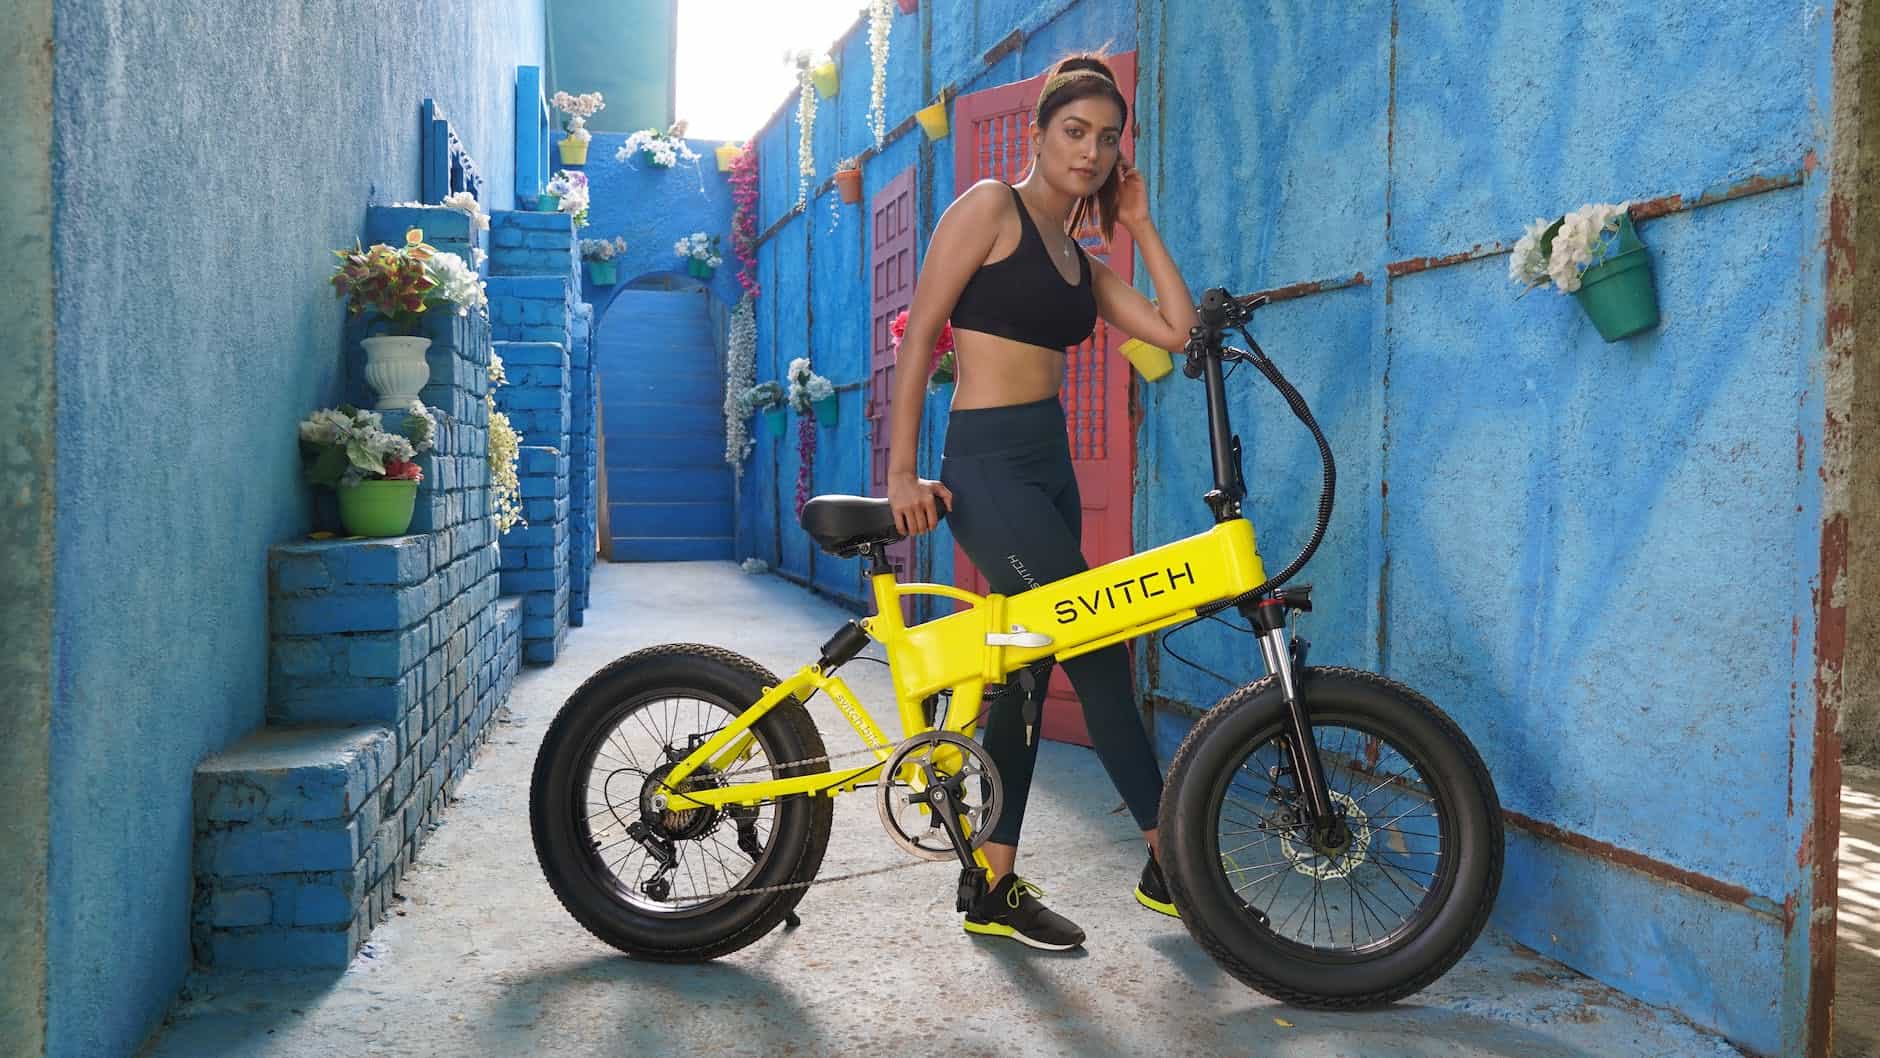
Like a mad scientist in a workshop, I tinkered with wires and gears, transforming a simple bicycle into a powerful electric steed.
In this guide, I will share my step-by-step process of creating an electric bike using nothing but a drill battery. With the right tools and materials, you too can embark on this electrifying adventure.
Join me as we dive into the technical intricacies and precise adjustments necessary to bring your DIY electric bike to life.
Let’s get started!
Key Takeaways
- Safety measures and precautions are essential when making an electric bike, including wearing a helmet and using reflective gear, disconnecting the battery when making adjustments, regularly inspecting the battery for damage, and keeping the battery clean, dry, and away from extreme temperatures.
- DIY electric bikes offer benefits such as customization according to preferences and needs, cost-effectiveness compared to pre-made electric bikes, environmental friendliness with zero emissions, and a reduced carbon footprint.
- Choosing the right battery is crucial, and it involves researching different options, considering battery capacity and voltage, ensuring compatibility with the electric bike system, checking battery lifespan and warranty, and selecting the suitable battery for optimal performance.
- Proper wiring and connections play a significant role in the conversion process, and it is important to plan and sketch the wiring diagram, use appropriate wire gauges for different connections, securely connect wires and components, test all connections for proper functionality, and ensure reliable and efficient electrical flow.
Gather the Necessary Tools and Materials
You’ll need to gather the necessary tools and materials before starting to make your electric bike with a drill battery.
Choosing the right battery type is crucial for the success of your project. Look for a drill battery that is compatible with your bike’s voltage requirements and has a high capacity to ensure a longer ride. Additionally, consider the weight and size of the battery to ensure it can fit securely on your bike without compromising its balance.
Ensuring proper wiring connections is another important aspect. Make sure to have the necessary wiring tools such as wire cutters, crimpers, and connectors. Take your time to carefully connect the battery to the motor and controller, following the manufacturer’s instructions.
With these tools and materials in hand, you can now move on to the next section about choosing the right bike for conversion.
Choose the Right Bike for Conversion
Selecting the appropriate bicycle for conversion requires considering various factors. One important factor to consider is the frame of the bike. Electric bike frames should be sturdy and able to handle the extra weight of the motor and battery. It is also crucial to ensure that the bike frame has enough space to accommodate the battery and motor. Another factor to consider is motor compatibility. Different motors have different mounting requirements, so it is essential to choose a bike that can accommodate the specific motor you plan to use. To help you understand the considerations better, refer to the table below:
| Factor | Description |
|---|---|
| Frame | Sturdy and able to handle extra weight |
| Space | Enough room for battery and motor |
| Motor Compatibility | Matches mounting requirements |
With these factors in mind, you can select the right bike for your electric bike conversion. In the next section, we will discuss how to remove the pedals and crankset.
Remove the Pedals and Crankset
To start removing the pedals and crankset, first, you need to loosen the pedal with a wrench. This step is crucial in order to detach the pedal from the crank arm. Once the pedal is loosened, you can now proceed to remove it completely from the bike.
Next, you need to remove the crankset, which consists of the crank arms and the chainrings. This can be a bit challenging as it requires a crank puller tool to safely and effectively remove the crank arms. The crank puller tool is inserted into the crank arm and then turned counterclockwise to loosen and remove it.
It is important to note that alternative propulsion methods, such as electric bikes, often require the removal of the pedals and crankset to accommodate the installation of the electric motor and battery mount. This allows for a seamless integration of the new components into the bike’s existing frame.
Install the Electric Motor and Battery Mount
Once everything is removed, it’s time to start installing the electric motor and battery mount.
When it comes to electric motor types for an electric bike, there are a few options to consider. One popular choice is a brushless hub motor, which is compact, efficient, and provides a smooth ride. Another option is a mid-drive motor, which offers greater power and torque, making it ideal for hilly terrains.
As for the battery mount, there are various options available. You can choose a rear rack battery mount, which attaches to the back of the bike, or a frame battery mount, which fits inside the frame. Both options have their advantages, so it’s important to choose one that best suits your needs.
Now, let’s move on to the next step and connect the motor to the battery.
Connect the Motor to the Battery
Now it’s time to connect the motor and the battery. To ensure proper wiring, refer to the wiring diagram provided with your electric bike kit. It is essential to follow the diagram precisely to avoid any electrical mishaps. Start by connecting the positive terminal of the battery to the positive terminal of the motor using a thick gauge wire. Similarly, connect the negative terminal of the battery to the negative terminal of the motor. Ensure that all connections are secure and tightly fastened. Once the motor is successfully connected to the battery, you are one step closer to completing your electric bike. In the next section, we will discuss how to install the throttle and controller, which will allow you to control the speed and power of your electric bike effortlessly.
Install the Throttle and Controller
First, you’ll need to attach the throttle and controller to control the speed and power of your electric bike effortlessly. Here’s how to install the throttle and controller:
-
Locate a suitable position on the handlebar for the throttle. Ensure it is within easy reach and comfortable to operate.
-
Connect the throttle to the controller using the provided wiring harness. Make sure to match the correct wire colors and securely fasten the connections.
-
Mount the controller on the frame of the bike using zip ties or brackets. Ensure it is positioned in a protected area away from water and debris.
Installing the throttle and controller allows you to regulate the electric bike’s speed and power output seamlessly. Once you have completed this step, you can proceed to test the electric bike conversion and ensure everything is functioning correctly.
Test the Electric Bike Conversion
To test your electric bike conversion, you’ll want to ensure all components are functioning correctly. This involves conducting performance testing and battery range analysis. Performance testing allows you to gauge how well your electric bike performs in various conditions. It involves measuring the speed, acceleration, and overall handling of the bike. Additionally, you should assess the battery range, which determines how far your bike can travel on a single charge. This analysis helps you understand the limitations of your electric bike and plan your rides accordingly. To grab your attention, here’s a table comparing the performance and range of different electric bike models:
| Electric Bike Model | Max Speed (mph) | Acceleration (0-20 mph) | Battery Range (miles) |
|---|---|---|---|
| Model A | 25 | 5 seconds | 30 |
| Model B | 20 | 7 seconds | 25 |
| Model C | 30 | 4 seconds | 35 |
Once you have completed the performance testing and battery range analysis, you can make adjustments and fine-tune the system to enhance your electric bike’s performance and maximize its battery efficiency.
Make Adjustments and Fine-Tune the System
After completing the performance testing and battery range analysis, it’s important to adjust and fine-tune the system to optimize the electric bike’s performance and maximize its battery efficiency.
One crucial aspect to focus on is adjusting the motor power to strike the right balance between speed and energy consumption. By finding the optimal power level, you can ensure that the bike provides sufficient propulsion without draining the battery excessively.
Additionally, optimizing battery performance is essential for prolonging its lifespan and maximizing its range. This involves fine-tuning the system to minimize power losses, such as reducing friction in the drivetrain and ensuring proper alignment of the components. By fine-tuning these aspects, you can achieve a more efficient electric bike.
Moving forward, it is crucial to ensure that safety measures and precautions are in place to protect both the rider and the bike.
Ensure Safety Measures and Precautions are in Place
It’s crucial to ensure that safety measures and precautions are in place, such as wearing a helmet and using reflective gear, to protect both the rider and the e-bike.
When working with an electric bike powered by a drill battery, it is important to understand that it operates on high-voltage electricity, which can be dangerous if mishandled. To ensure safety, always disconnect the battery when making any adjustments or maintenance to the system.
Additionally, it is essential to regularly inspect the battery for any signs of damage, such as leaks or corrosion, and replace it if necessary. Proper battery maintenance includes keeping it clean, dry, and away from extreme temperatures.
By ensuring safety and maintaining the battery, you can enjoy your DIY electric bike with peace of mind.
Enjoy Your DIY Electric Bike
You can have a great time riding your DIY e-bike. Building your own electric bike using a drill battery has numerous benefits.
Firstly, it allows you to customize your bike according to your preferences and needs. You can choose the type of battery, motor, and other components that suit your requirements.
Additionally, DIY electric bikes are more cost-effective compared to pre-made electric bikes. They are also environmentally friendly, as they produce zero emissions and reduce your carbon footprint.
However, there are some common challenges you may encounter during the conversion process. These include finding the right battery, ensuring proper wiring and connections, and troubleshooting any technical issues that may arise.
It is important to research and plan your conversion carefully to overcome these challenges and enjoy a successful DIY electric bike project.
Frequently Asked Questions
How long will the drill battery last on a single charge?
The electric bike range depends on several factors affecting battery life, including terrain, rider weight, speed, and level of assistance. On a single charge, the drill battery can last anywhere from 10 to 30 miles, but this may vary.
Can any type of bike be converted into an electric bike?
Converting any type of bike into an electric bike? Oh, the possibilities! A mountain bike offers ruggedness and off-road capability, while a road bike offers speed and efficiency. However, factors like frame compatibility and weight distribution must be considered. Pros and cons abound.
Is it necessary to remove the pedals and crankset for the conversion?
Removing the pedals and crankset for an electric bike conversion has its pros and cons. Pros include weight reduction and increased space for battery placement. However, cons include loss of pedal power and limited options for pedaling. Alternatives to using a drill battery include using lithium-ion batteries or hub motors.
What type of throttle and controller should be used for the electric bike conversion?
For an electric bike conversion, the advantages of a thumb throttle over a twist throttle include better control and ergonomics. When choosing a controller, factors to consider are voltage and amperage compatibility, regenerative braking capability, and programmability for customization.
Are there any specific safety measures or precautions that need to be taken while using the DIY electric bike?
When using a DIY electric bike, it is crucial to take safety precautions. This includes wearing protective gear, regularly inspecting the bike for any damages, and following traffic rules. Additionally, proper maintenance of the battery is essential to maximize its lifespan.
Conclusion
In conclusion, successfully converting a regular bike into an electric bike with a drill battery is a rewarding DIY project. By following the step-by-step process outlined in this article, you can enjoy the benefits of an electric bike at a fraction of the cost.
Remember to prioritize safety and take necessary precautions during the conversion process. As the saying goes, ‘Where there’s a will, there’s a way.’
So, grab your tools, get creative, and embark on the journey of building your own electric bike. Happy riding!


