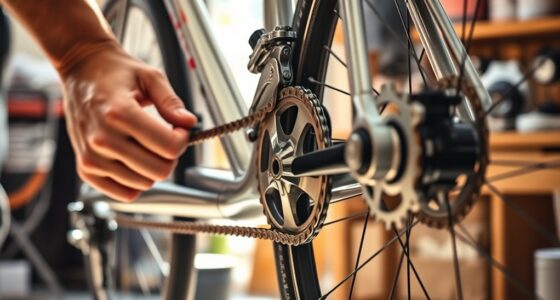

In this piece, we’re going to delve into the components of a chain and the connecting links that keep it intact. Additionally, we’ll touch on the topic of the master link and the process for obtaining a new chain. The conversation will extend to how to switch to the biggest chainring. It’s our hope that you find this data beneficial. Upon completing this article, you should have the knowledge to confidently reattach the chain to your bicycle. However, if you’re still uncertain about the next steps, there are multiple techniques available for you to explore.
Links that hold a chain together
A chain is a looped series of links, which can be made of a variety of materials, such as metal, plastic, or leather. To make a chain, you first need a set of links of the same size and shape. Depending on the length you need, you can use more or fewer links. Then, you’ll need to connect them by looping one link through the center of the next one. If you’d like your chain to be more secure, you can fasten the links together with wire or fasteners.
A simple way to install links is to use pliers. To use a plier, place one end of the pliers on the pin of a chain link. Place the other end of the pliers on the other end of the link. This way, you can squeeze the link from both sides.
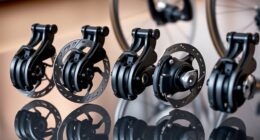
There are two main types of master links. There are traditional ones, which are suitable for wide-spaced sprockets and straight chainlines. Another type, known as a bushingless chain, has a higher profile and smaller projections on the pins. These are typically used on large cogsets, where clearances are more important.
Another option is to replace a broken chain link with a quick link. These are small connectors with interlocking plates and inbuilt pins that snap together. They also make removing the chain a breeze. Some models are reusable, while others are only good for one use. Whatever type you choose, it’s essential to keep a spare in the saddlebag.
Knowing how many links a chain has before using it will help you ensure its safety and strength. A chain is only as strong as its weakest link, so it’s important to count them and make sure they’re strong enough to support the weight of the car you’re using it with. If the chain is too loose, it could fall off, causing an accident.

Under Armour Squeeze Water Bottles, 32 oz Water Bottles, Sideline Sports Water Bottle with Quick-Shot Lid, Quick & Easy Hydration, Gym Water Bottles, Squeeze Bottle, 1 32oz Bottle
- Easy Hydration: Quick-shot lid and one-way valve
- On-the-Go Use: One-hand operation for active hydration
- Measurement Markings: Ounces and milliliters for tracking
As an affiliate, we earn on qualifying purchases.
Linking a master link
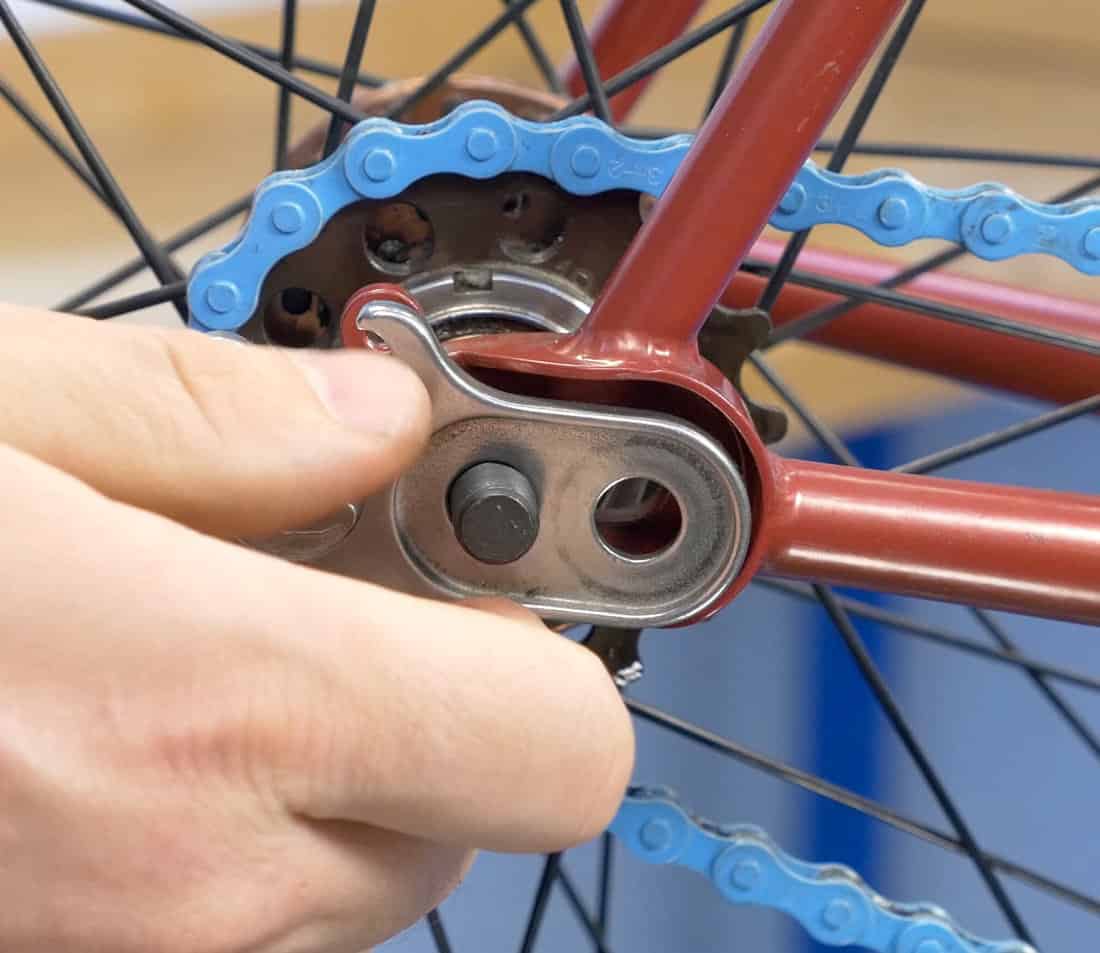
If you’re having trouble linking your bike’s chain, the first thing you need to do is locate the master link. To do this, you should mount your bike on a work stand or saddle, which will enable you to see the chain links more easily. Stand on the drivetrain side of the bike and look for the main link, which is the widest link. A rivet will be on the other end of the link, and there will be special release pins and spring clip on the side. To remove the rivet, simply use needle-nose pliers to remove it.
The master link is made from two different components: a flat washer and a link-shaped clip. These parts are available at bike shops or online, and typically cost a few dollars. Once you have bought the master link, you can now put it on your bike’s chain.
Unlike the regular link, the master link on a bicycle is not intended for re-use after disassembly. Reused links are weakened and a potential safety hazard. In addition to their lower strength, they tend to break more easily and can increase the chances of the chain breaking.
Besides being more secure, master links are more likely to survive human error. They make it easier to remove your bike’s chain if necessary, and they are easier to install. By following simple instructions, installing a quick link on your bike is an easy task. Check out the video above for a step-by-step guide.
While the installation process is easy and straightforward, it is vital to have the proper tools. Some newer 10 or 11 speed links are extremely tight, so using proper tools will make the process go more smoothly.
Getting a new chain
If you need to replace your chain, it is important to follow the correct procedure. You should start by lubricating your new chain with the appropriate lubricant. The bike shop can recommend which lubricant to use. You should also lubricate your chain after every two to three rides. Be careful not to overlube, and only use bicycle-friendly lubes. Avoid using WD-40 or motor oil as these can strip lubricants.
Then, put the chain back on your bike. To do this, lift the top chain and place it on the smaller chainring. You should be able to ride the bike comfortably after this process. Make sure the chain has a sufficient amount of slack. Make sure to let go of the rear derailleur as well.
You can use a chain measuring tool to check the chain’s tension. This tool is very easy to use and can help you prevent injuries. One such tool is the Park Tool CC-3.2, which is cheap and easy to use. A chain measuring tool will help you to determine if the chain needs to be lubricated.
Once you’ve finished cleaning your bike, the next step is to thread the new chain through your bike’s derailleur. The rear derailleur is a spring-loaded system of gears that hangs below the main rear sprocket. To thread your new chain through your derailleur, you’ll need the female end of the chain. Thread the female end of the chain through the bottom pulley and the top pulley of the derailleur. Be sure to keep the chain from resting on anything other than the pulleys.
If you don’t have extra chain link pins on hand, you can use your existing pin to reconnect the chain. However, be sure not to drive out the existing pin completely. It will result in a weak connection and a shorter chain length.
Shifting to the biggest chainring
When shifting to the biggest chainring on a bike, you need to be extra careful. The chain needs some extra push before it can engage the bigger ring. Typically, when the left hand shifter is clicked, the front derailleur will push the chain sideways. This results in the chain being in a sort of limbo. By pressing the ‘extra push’ button, you can encourage the chain to engage the bigger chainring.
Often, riders may be tempted to drop a gear to make the shift easier. While this is true, this can make the MoD jump too big to maintain. This is where a double shift technique comes in handy. By putting yourself in a larger gear in the big ring, you can shift down into the smaller ring without losing any momentum.
When shifting gears, you must put power into your pedal stroke. Otherwise, you will be generating a lot of torque on the chain, stretching it out and potentially falling off of the chain rings. This method is most efficient on flat roads or gentle uphills. Shifting gears without pedaling will cause a grinding noise and can lead to problems in the future.
Practice your shifting techniques to get the hang of the procedure. It is easiest to do this by yourself. But you can also practice with your friends and even in a group ride. Eventually, it will become second nature. If you can’t make it feel right, consult a bike mechanic.
You can also adjust the length of your chain. Keeping the chain length at the proper length will ensure smooth shifting. A simple way to check this is by pushing on the derailleur cage. If the cage slides too much, your chain is too long.
Checking for a broken link
Checking for a broken link is a critical step when putting a chain back on your bike. If you discover that one of the chain links is bent, it is necessary to remove it from the rest of the chain before putting it back on the bike. Ideally, you should replace all damaged links, as reassembling a chain with the same links increases the risk of failure. However, if you do not have any spare links, it is best to seek the help of a qualified bicycle mechanic.
Some bicycle chains are equipped with special link plates that are designed to fit on the chain ends. The plates should have rollers on both ends. If one of the plates is broken, you can cut off one-half of the link and replace it with a special link.
PowerLink chain links can be installed using special tools designed for this purpose. To install them, you must push down on the chain link’s pin. If the pins do not lock on by pulling, you can use pliers to squeeze the pliers on the front and rear breaks. This should loosen the pins, allowing them to fit into place.
A broken chain is a major inconvenience, as it will prevent you from riding your bike. If you’re far away from your destination, you’ll likely have no choice but to stop and pull off the broken bits of the chain. A repair tool is essential for this process, because it is not very expensive and is designed to push out broken rivets and plates.
After taking off the chain, it is important to put it back on your bike. First, look for the master link. It should be on both ends. It should engage when the back brake is applied. Alternatively, you can move the joining link to the top with the cranks. Then, check the connecting link.