
If you’re in the market for new grip tape for your bicycle, you may be curious about the correct way to wrap your handlebars. There’s a choice between cork tape and thick grip tape, both of which come with straightforward instructions for installation. Yet, certain steps hold more significance than the rest. In this article, we will guide you through the correct method of installing each variety of grip tape and advise on when it’s time for a replacement. By the end of this read, you’ll be fully prepared to begin wrapping your bicycle handlebars!
Cork Tape
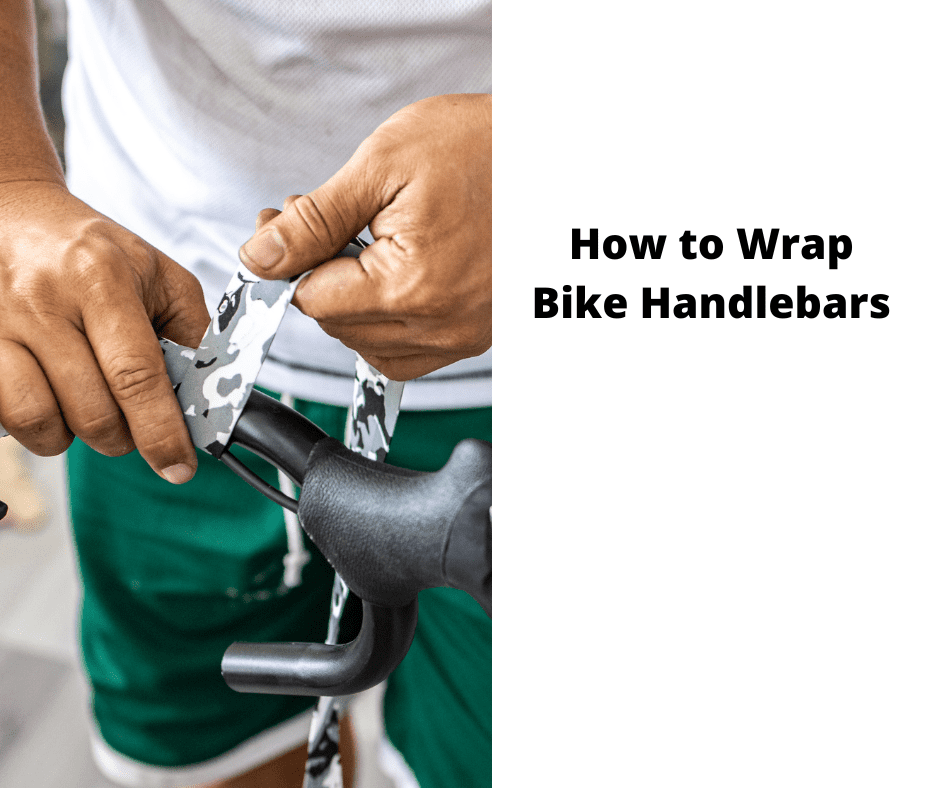
There are many different ways to wrap your bike handlebars in cork tape. Some people wind their tape clockwise while others wrap it anti-clockwise. The way you wind the tape is personal preference, but the result will be the same. One tip: make sure the tape is tightly wound. If you wind the tape too loosely, it will unravel and come undone. You can avoid this by using a diagonal cut.
Before wrapping, make sure you have electrical tape and sharp scissors handy. This tape is great for attaching tape to bars. It’s not as effective as cork tape so that the electrical tape can be substituted. Remember to start at the bottom of the drops and wrap up towards the top. You can use different colors to make your bar tape look great. Once you’re finished, you can cut the electrical tape and use it as finishing strips instead.

Under Armour Squeeze Water Bottles, 32 oz Water Bottles, Sideline Sports Water Bottle with Quick-Shot Lid, Quick & Easy Hydration, Gym Water Bottles, Squeeze Bottle, 1 32oz Bottle
- Easy Hydration: Quick-shot lid and one-way valve
- On-the-Go Use: One-hand operation for active hydration
- Measurement Markings: Ounces and milliliters for tracking
As an affiliate, we earn on qualifying purchases.
Thick Grip Tape
There are several types of grip tape for your bike’s handlebars. Cork grip tape, for example, is made from natural material and is lightweight and easy to apply. Its smooth surface and mild stretch make it comfortable to hold while riding. However, cork grip tape doesn’t feel as secure as a thicker piece of grip tape. While a thicker version is better for rough riding conditions, thin ones won’t make a big difference if you ride in the rain or on slippery surfaces.
Using bar tape can enhance your safety while riding. It’s flexible, so it’s easy to stretch it to fit tight bends and can be undone without ripping. If you want to add extra grip to your bike’s handlebars, you can get tape that’s 3.0mm thick. This type of tape also includes gel padding and adhesive backing. It’s a good idea to use tape that is fairly thick and make sure to cut it appropriately.
Proper Installation
Before installing your bike’s handlebars, ensure you know the proper procedure. The first step is to center the handlebars in the stem. Most handlebars have easy-to-see markings on both sides, which can help you make the correct placement. Then, use a pry bar to expand the compression slot. Be careful not to damage the stem if you accidentally force it in.
The next step is to install the ergonomic grips. This is the essential part of the entire process. If you do not know how to do this, you can ask a friend to help you. Otherwise, you can lean against a wall. Make sure to align your grips correctly to maximize your control and minimize wrist fatigue. After adjusting your grips, you can ride your bike as you usually do.
Replacement of Grip Tape
Bike handlebars have a lot of different materials, and the replacement of grip tape is no different. Bar tape is an integral part of a bike’s handlebars; over time, the material can begin to wear out and cause various problems. In some cases, the bar tape can even become odorous. Here are some tips on when to replace your bar tape:
First, unfasten the old grip tape. Then, use a sharp knife to cut it. Once you’ve cut it, make sure to apply a piece of electrical tape to secure it in place. After cutting the tape, pull it until it stretches evenly. Afterward, you’ll want to apply a small amount of glue or tape to the edges to keep the new grip tape from slipping.