To guarantee a secure roof rack fit, focus on proper crossbar spacing, torque settings, and wind noise reduction. Measure and adjust the spacing to match your vehicle’s specifications, tightening bolts with a torque wrench to the recommended pressure. Keep the crossbars aligned and streamlined with aerodynamic accessories, like fairings, to reduce wind noise. When these aspects are correctly addressed, your rack performs better and lasts longer. Continue here to discover detailed steps for each part.
Key Takeaways
- Proper crossbar spacing ensures load stability, reduces wind noise, and prevents damage by evenly distributing weight across the vehicle.
- Use a torque wrench to tighten mounting bolts to manufacturer specifications, avoiding over-tightening or under-tightening.
- Align crossbars carefully and keep the rack low-profile, covering gaps with fairings to minimize air disruption and wind noise.
- Regularly inspect and re-measure crossbar placement after adjustments to maintain optimal fit and performance.
- Proper installation and maintenance prevent wobbling, wind noise, and long-term damage, ensuring safety and aerodynamic efficiency.
Why Proper Crossbar Spacing Is Key to a Secure Roof Rack Fit
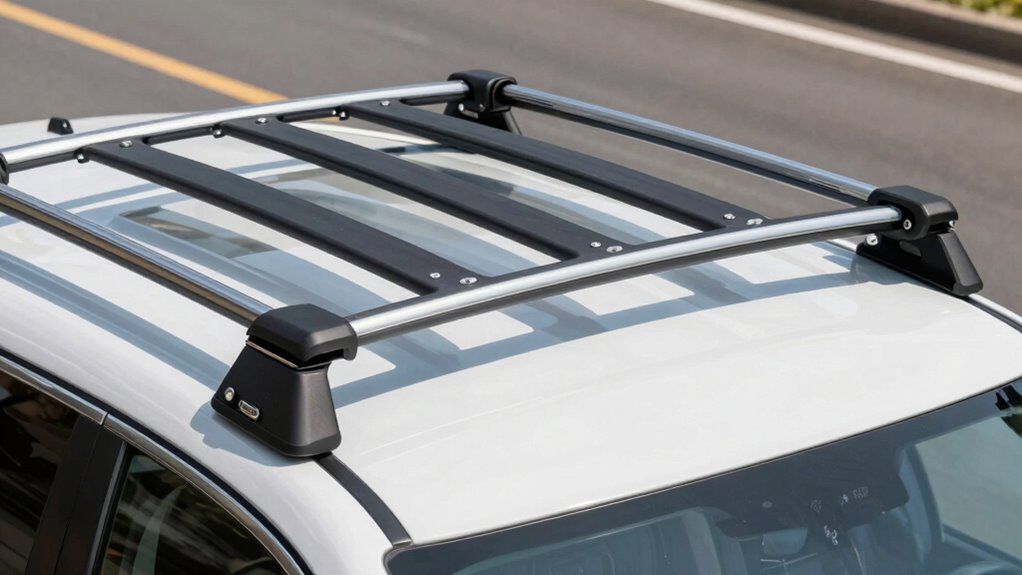
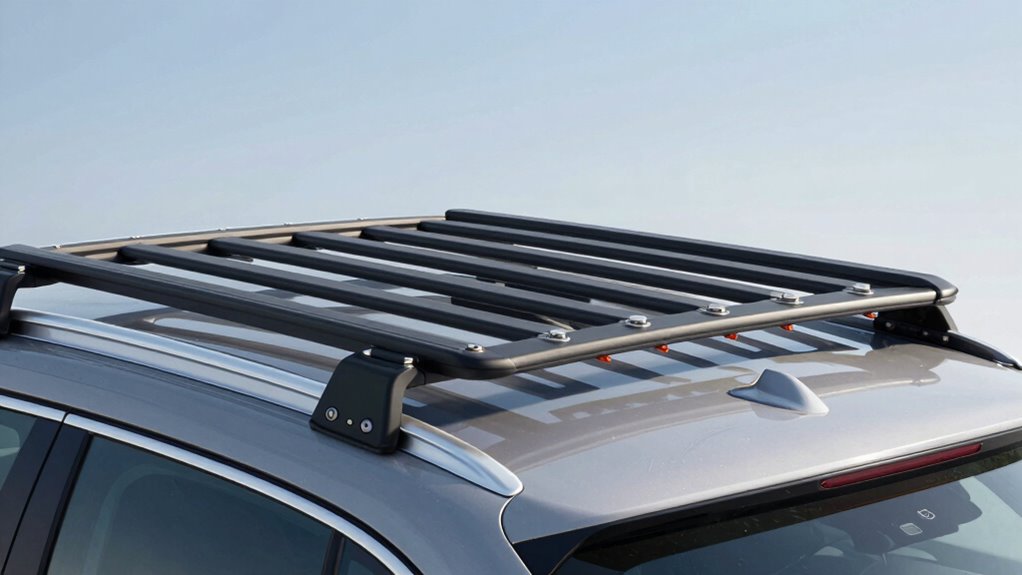
Proper crossbar spacing is essential because it directly impacts the stability and safety of your roof rack. When crossbars are correctly aligned, they evenly distribute weight across the rack’s length, preventing undue stress on any single point. Proper crossbar alignment ensures your load remains secure during transit, reducing the risk of shifting or falling. Incorrect spacing can lead to poor weight distribution, which compromises stability and increases the chance of damage to your vehicle or roof rack. Maintaining ideal crossbar spacing helps keep your gear balanced and secure, especially during turns or sudden stops. Additionally, wind noise reduction can be achieved by correctly spacing crossbars, making for a quieter ride. Proper installation techniques and regular adjustments are crucial for optimal performance. Paying attention to these details enhances the long-term durability of your roof rack and prevents unnecessary wear. Ensuring correct crossbar positioning is also vital for maximizing load capacity and safety. To further improve overall stability, load distribution methods should be considered during setup. Ultimately, paying attention to crossbar spacing guarantees that your roof rack performs safely and effectively, providing peace of mind on every trip.
How to Measure and Adjust Crossbar Spacing for Your Vehicle
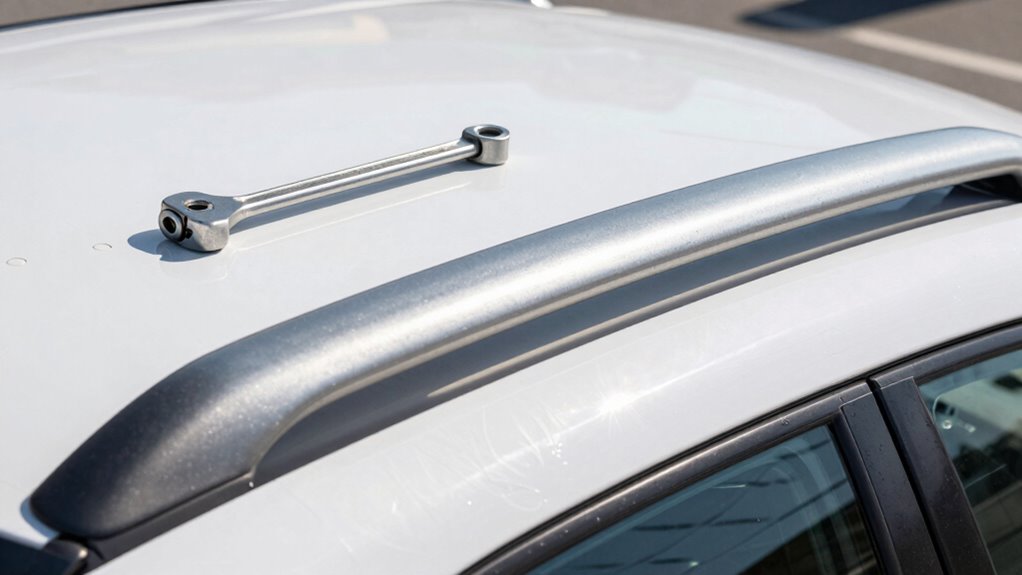
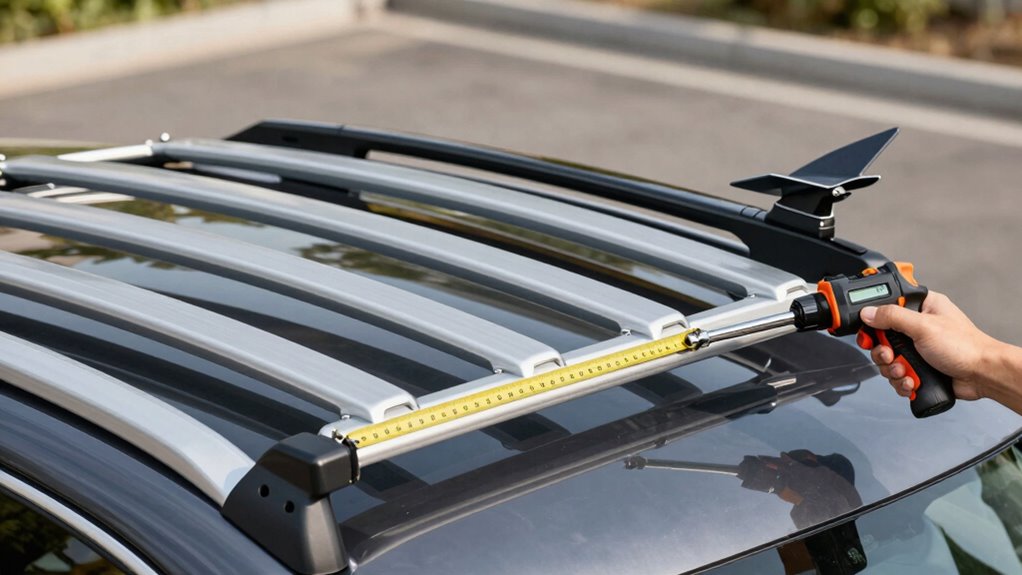
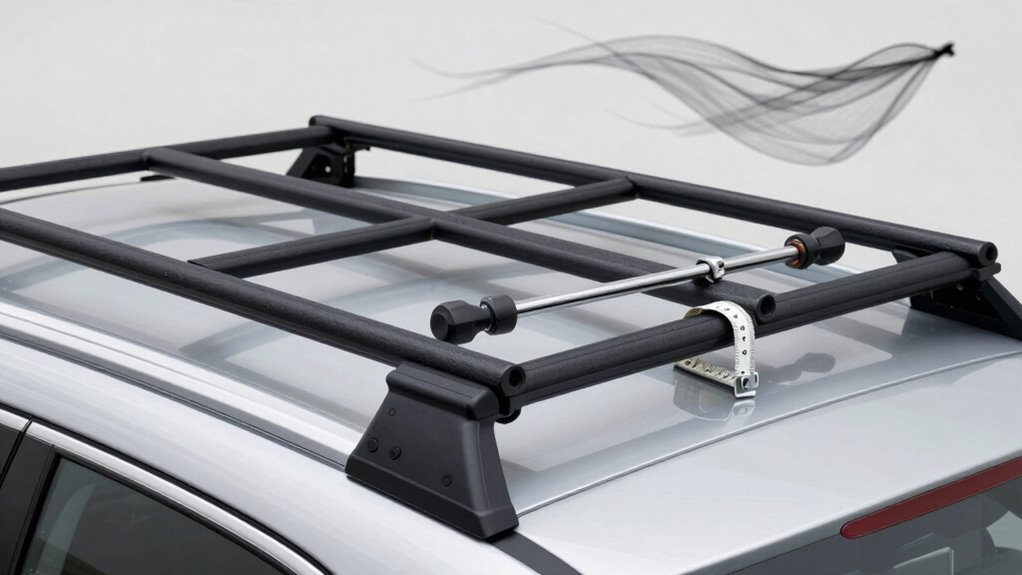
To guarantee your roof rack fits securely, start by measuring the distance between the crossbars on your vehicle. Accurate crossbar placement ensures stability and safety. Use measurement techniques like a tape measure or a ruler to determine the space between the bars at multiple points—front, middle, and rear—to account for any unevenness. Record these measurements carefully. If the spacing isn’t ideal, adjust the crossbars accordingly, moving them closer or farther apart based on your rack’s specifications. Double-check the measurements after adjustments to confirm consistency. Proper crossbar placement not only improves load security but also minimizes wind noise and reduces strain on your vehicle. Additionally, understanding the torque specifications for your crossbars can prevent over-tightening and ensure they remain securely in place during use. Applying the correct installation techniques can further enhance the stability and longevity of your roof rack setup.
Essential Tools and Techniques for a Safe, Noise-Free Roof Rack Setup
Using the right tools and techniques guarantees your roof rack is secure, stable, and quiet during drives. Start by gathering essential tools like a torque wrench, screwdrivers, and a level to ensure proper installation. When exploring alternative mounting options, choose compatible components that fit your vehicle and rack system, enhancing stability and safety. Pay attention to aesthetic considerations, selecting mounting points and accessories that blend seamlessly with your vehicle’s design while maintaining functionality. Properly tightening all fasteners with a torque wrench prevents loosening and rattling, reducing noise. Double-check crossbar alignment and secure all components tightly. These techniques ensure your setup withstands wind resistance and vibrations, providing a safe, silent ride and preserving your vehicle’s appearance. Additionally, understanding and applying proper power tool techniques can make installation more efficient and precise.
Why Correct Torque Settings Make a Difference and How to Get Them Right
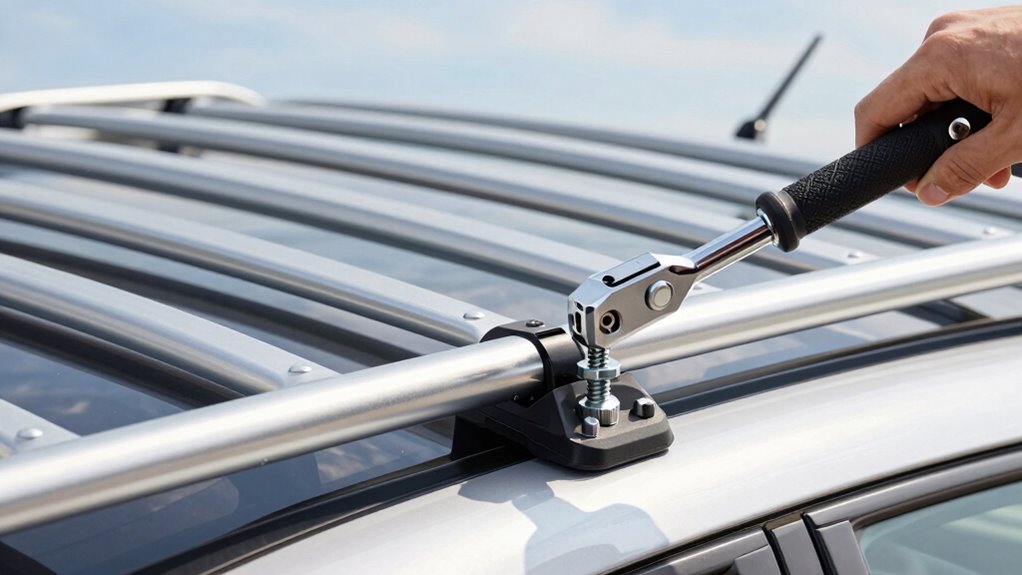
Ensuring your roof rack is tightened to the correct torque settings is essential because over-tightening can damage components and under-tightening can cause parts to loosen or rattle during your drive. Proper torque calibration guarantees your rack is secure without risking damage. Use a torque wrench to achieve precise fastening techniques, following the manufacturer’s specifications. This precision in tightening ensures even pressure distribution and prevents uneven stress on the components. Proper torque application also helps to avoid component warping or cracking, which can compromise safety and durability. Tightening bolts too much or too little compromises safety and can lead to noise or even detachment while driving. By adhering to recommended torque settings, you ensure a safe, stable fit that withstands wind and road conditions. Always double-check your torque calibration after installation, especially if you’ve used different tools or if the environment changes. Regularly inspecting your tools and equipment helps maintain accurate torque application over time.
Tips for Reducing Wind Noise and Improving Aerodynamics
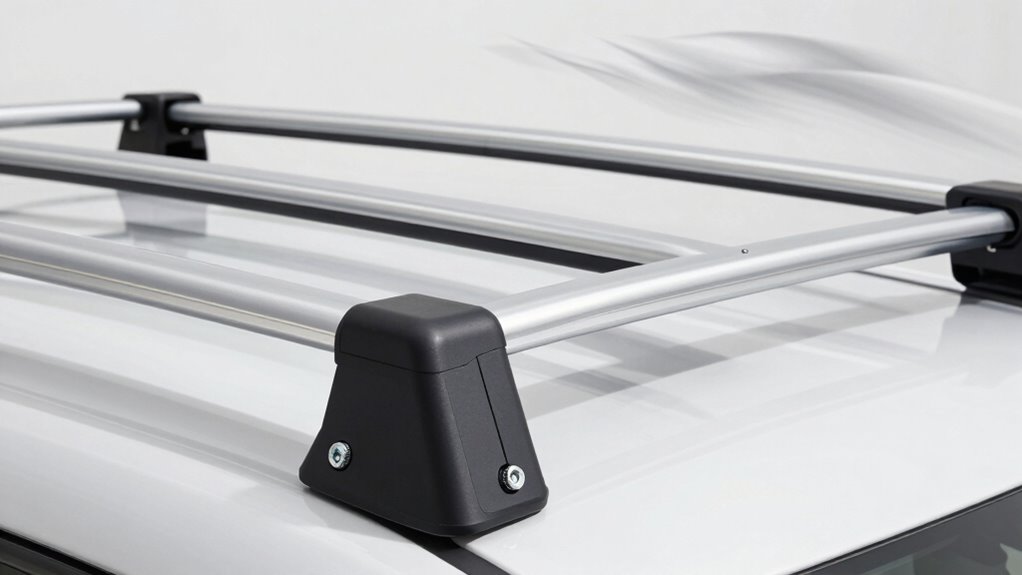
Reducing wind noise and improving aerodynamics when installing a roof rack can make a considerable difference in your driving experience. To enhance roof rack aerodynamics, ensure crossbars are properly aligned and tightly secured. Choose aerodynamic crossbars designed to cut through the wind more efficiently, reducing noise and drag. Keep the rack as low-profile as possible to minimize air disruption. Cover any gaps or exposed mounting hardware with fairings or wind deflectors to streamline airflow. Regularly check for loose fittings, as they can increase wind noise. Using free floating mounting options can also help maintain optimal positioning without adding unnecessary weight or complexity. By focusing on proper installation and selecting aerodynamic accessories, you’ll experience less wind noise reduction and smoother driving, especially at highway speeds. Small adjustments can greatly improve your overall comfort behind the wheel.
Common Mistakes When Installing Roof Racks and How to Avoid Them
One common mistake is incorrect crossbar spacing, which can compromise the rack’s stability and safety. You should double-check the manufacturer’s recommended distances to make certain of a secure fit. Additionally, over-tightening bolts can damage your roof or rack, so tighten them just enough to hold everything firmly without forcing them. Ensuring proper application techniques is essential for maintaining the integrity of the install and prolonging the lifespan of your roof rack.
Improper Crossbar Spacing
Incorrect crossbar spacing is a common mistake that can compromise the stability and safety of your roof rack setup. If the bars are too far apart, your load may shift or fall, increasing accident risk. Conversely, bars placed too close together can cause aesthetic issues and may not fit your gear properly. Always check your vehicle’s recommended spacing, which varies by brand and model, to ensure compatibility. Proper spacing not only enhances safety but also improves the overall look of your roof rack. Keep in mind that correct crossbar placement guarantees your gear is secure and evenly distributed. Taking the time to measure and follow manufacturer guidelines helps you avoid these common mistakes and guarantees a more functional, visually appealing setup. Incorporating cybersecurity principles such as data integrity and secure communication can help ensure your installation process remains protected from potential errors or tampering. Additionally, verifying the correct torque settings during installation prevents loosening or damage to the roof rack components. Being aware of the best practices for installation can further help you achieve a safe and effective setup. Ensuring proper maintenance can extend the lifespan of your roof rack and keep it functioning safely over time. For added confidence, consulting professional guidance or visiting a trusted dealer can ensure your setup adheres to all safety standards.
Over-tightening Bolts
Over-tightening bolts during roof rack installation is a common mistake that can cause damage to your vehicle or the rack itself. When bolts are too tight, you risk bolt damage, stripping threads, or cracking the rack material. Over-tightening can also reduce rack longevity by stressing components unnecessarily. Imagine tightening a bolt so much that the threads strip or the metal warps, weakening the connection. Visualize the rack warping under excessive pressure, leading to instability or failure. To avoid this, use a torque wrench and tighten bolts gradually, following the manufacturer’s specifications. Proper torque ensures a secure fit without compromising the integrity of your roof rack or vehicle. proper installation techniques can further prevent damage and ensure safety. Additionally, understanding correct torque settings helps maintain the durability of your roof rack components and prevents costly repairs down the line. Applying the right installation procedures ensures that your rack remains safe and reliable over time. Using the appropriate installation tools can make a significant difference in achieving the correct torque and avoiding over-tightening. Being aware of vetted installation practices can help you prevent common errors and prolong the lifespan of your roof rack. Properly tightened bolts protect your investment and keep your rack stable on every trip.
Troubleshooting Roof Rack Fit Problems and Fixing Performance Issues
When your roof rack isn’t fitting properly or performing as expected, addressing the issue promptly can prevent further damage and guarantee safety. Poor fit or loose components can reduce aero efficiency and compromise rack durability. Start by checking for loose bolts, misaligned crossbars, or uneven mounting points. Ensure crossbar spacing matches your vehicle specifications. Use the table below to troubleshoot common problems:
| Issue | Cause | Solution |
|---|---|---|
| Wind noise | Improper crossbar alignment | Adjust crossbars for smooth airflow |
| Rack wobbling | Loose mounting clamps | Tighten bolts to manufacturer specs |
| Reduced aero efficiency | Obstructed airflow | Re-position crossbars for ideal flow |
Properly securing and aligning your roof rack components ensures optimal performance, which can also help minimize wind noise and improve overall stability. Fixing fit problems ensures better performance, reduces wind noise, and maintains your rack’s durability. Additionally, regularly inspecting and maintaining your rack can prevent performance issues before they become serious.
Frequently Asked Questions
What Are the Signs of an Improperly Torqued Roof Rack?
If your roof rack is improperly torqued, you’ll notice signs like uneven crossbar alignment and difficulty securing your gear. You might also hear increased wind noise or feel vibrations while driving. Check if the rack remains stable during use; loosened or overly tight bolts can compromise rack compatibility. Regularly inspecting and tightening the crossbars guarantees proper fit, prevents damage, and keeps your setup secure and safe on the road.
How Does Crossbar Material Affect Wind Noise?
Think of your roof rack’s crossbars as the sails of a ship; their material shapes your journey. A smooth, aerodynamic design made from durable materials like aluminum reduces wind noise by slicing through air efficiently. Conversely, rough or less aerodynamic materials cause turbulence, creating whistling or howling sounds. Choosing high-quality, aerodynamic crossbars guarantees a quieter ride and better durability, making your voyage smoother and more enjoyable.
Can Incorrect Crossbar Spacing Impact Load Capacity?
Incorrect crossbar spacing can considerably impact load capacity because it disrupts proper crossbar alignment and load distribution. When spacings are too wide or uneven, the weight isn’t evenly spread, stressing the rack and vehicle. This can lead to damage or failure under heavy loads. Always verify your crossbars are properly aligned and spaced according to your rack manufacturer’s guidelines to maximize load capacity and ensure safety during transport.
Are There Specific Torque Values for Different Roof Rack Brands?
Think of your roof rack as a tailored suit; each brand has its own perfect fit. Yes, there are specific torque values for different roof rack brands to guarantee crossbar compatibility and secure installation. You should always consult the manufacturer’s guidelines for precise torque settings during roof rack installation. Using the correct torque ensures your gear stays safe and your setup remains stable, preventing issues like wind noise or damage.
How Do Weather Conditions Influence Wind Noise and Rack Stability?
Weather conditions greatly influence wind noise and rack stability. When it’s windy, the wind behavior around your rack can create more noise and cause instability if the weather impact is strong. Rain or snow can add weight and affect the rack’s grip, while gusts may shake or loosen it. Always check weather forecasts before travel to guarantee your roof rack stays secure and minimizes noise, especially in gusty or stormy conditions.
Conclusion
Getting your roof rack fit just right isn’t rocket science, but it does take attention to detail. When you focus on proper crossbar spacing, torque, and reducing wind noise, you’ll enjoy a safer, quieter ride. Don’t overlook small adjustments—they can make a big difference. Remember, it’s better to dot your i’s and cross your t’s now than deal with headaches later. With patience and care, you’ll have your roof rack performing like a well-oiled machine.