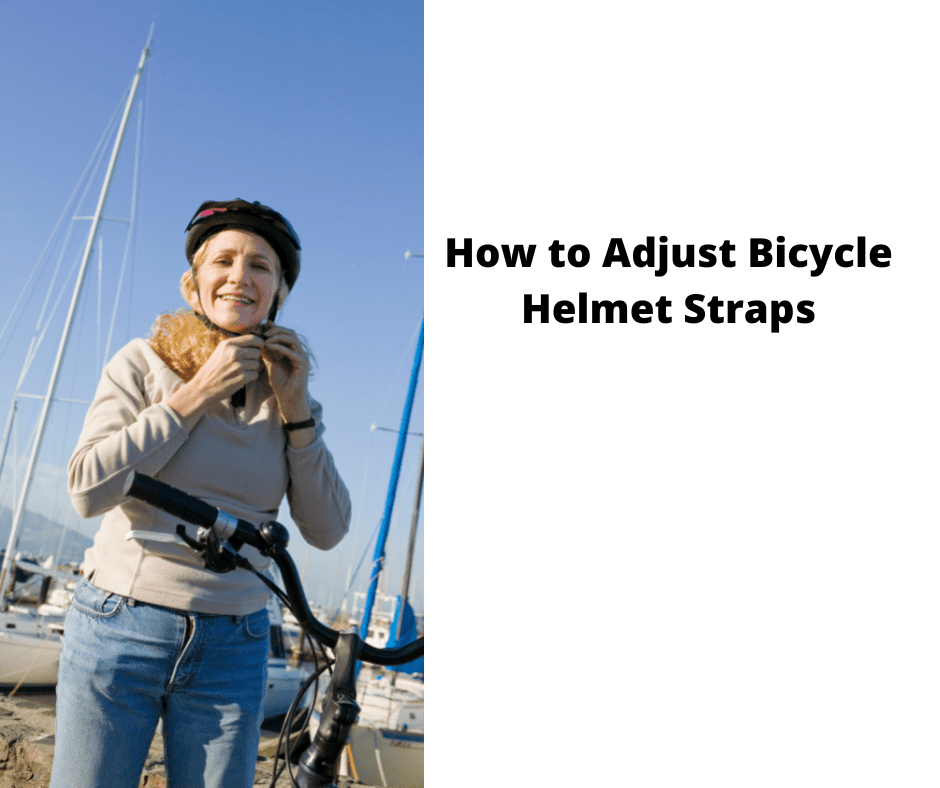

Greetings to all you bike enthusiasts! When you’re ready to hit the road, having a helmet that perfectly fits is essential. Allow me to assist you in ensuring your helmet is snug and comfy.
Adjusting the straps on your bicycle helmet is the key to making sure it fits snugly and won’t move around when you’re riding. In this article, I’ll give you some tips for adjusting your straps to get the perfect fit.
Let’s get started!
Why Helmets Are Necessary
Safety is paramount on the open road, and nothing can protect you better while cycling than a helmet. Whether you’re an experienced cyclist or just starting out, wearing a helmet is essential to protecting your noggin while biking. Strapping on a helmet before hopping on your bike is like putting on your seatbelt in the car – it might not seem necessary, but it could save your life.
When selecting a bicycle helmet, make sure that it fits snugly and securely around your head. The straps should be adjustable so that you can ensure the perfect fit for maximum safety. For example, you’ll want to adjust the chin strap so that it’s tight enough that two fingers can’t fit under it – this will make sure it stays in place during any bumps you might encounter on the road.

Next up is making sure all of the straps are properly adjusted and secure. For example, the side straps should form a “V” shape under your ears; if they don’t, then they need to be tightened or loosened accordingly. Similarly, the back strap should rest just below your earlobes when fastened to create a snug yet comfortable fit across your entire head.
With these adjustments in mind, you can be confident knowing that when you hop on the bike with your helmet securely strapped on, you’ll have maximum protection against any potential hazards or mishaps along the way.
Let’s move onto selecting the right helmet for your needs!

Under Armour Squeeze Water Bottles, 32 oz Water Bottles, Sideline Sports Water Bottle with Quick-Shot Lid, Quick & Easy Hydration, Gym Water Bottles, Squeeze Bottle, 1 32oz Bottle
- Easy Hydration: Quick-shot lid and one-way valve
- On-the-Go Use: One-hand operation for active hydration
- Measurement Markings: Ounces and milliliters for tracking
As an affiliate, we earn on qualifying purchases.
Selecting The Right Helmet
Choosing the right bicycle helmet is critical for safety. There are many factors to consider when picking out a bike helmet, such as size, shape, and features. I recommend looking for a helmet that has adjustable straps so you can easily adjust the fit.
To ensure your bicycle helmet fits correctly, start by adjusting the straps before you put it on. Make sure the chin strap is snug under your chin and not too loose or too tight. Then position the helmet so it sits level on your head and covers your forehead. The straps should form a ‘V’ shape just below your ears. Finally, buckle the chin strap securely and tighten it until its comfortable but not too tight.
At this point you should have a properly fitted bicycle helmet.
If you’re still unsure about how it’s fitting, try shaking your head from side to side or up and down to check if the helmet moves around on your head. If there’s any movement, adjust the straps until it fits securely on your head without moving around or sliding off.
With all these steps accomplished, you’ll be ready to hit the road in style and safety! Moving forward we’ll look at how to fit a bicycle helmet correctly for comfort and protection while cycling.
How To Fit A Bicycle Helmet
Now that you have chosen the right helmet for your biking needs, it’s time to get fitted. To make sure your bicycle helmet fits properly and is comfortable, there are some simple steps to follow.
First, you’ll need to adjust the straps of your helmet. Make sure they are snug but not too tight, as this can be uncomfortable and annoying while riding.
Position the straps so they form a ‘V’ shape around each ear- this will help keep them in place when you’re on the go.

Once you’ve adjusted the straps, it’s time to check the fit of your helmet. Place the helmet on your head- if it’s too loose or won’t stay in place, you may need to tighten or loosen the straps further until it feels secure and comfortable.
With these steps taken care of, you’re now ready for positioning for comfort!
Positioning For Comfort
Getting your bicycle helmet on just right is key for comfort and safety.
First, you want to make sure that the side pads are sitting comfortably against your head so that it keeps your head secure in the event of an accident.
To do this, you can watch a few instructional videos on YouTube or ask someone who knows how to fit a helmet correctly.
Once you have the side pads in place, adjust the straps so they feel comfortable but also keep your helmet secure and in place when riding.
Make sure that the chin strap isn’t too tight — it should rest snugly against your chin without being overly restrictive.
With all these adjustments complete, you’re now ready to safely enjoy the ride!
Adjusting Straps For Security
If you want to make sure your helmet is as secure as possible while riding, then following the steps to adjust your straps correctly is essential. Turning your helmet into a comfortable and safe piece of protective equipment requires some finesse – luckily, it’s easy once you know what to do!
First things first: tighten the straps so that they are snug but not too tight. Make sure that each strap lays flat against your face and does not obstruct your vision. This will help keep the helmet securely in place and more comfortable for longer rides.

Next, position the straps correctly behind your ears. This ensures the helmet stays where it should be and keeps the pressure on your head evenly distributed.
The last step is to lock them in place by fastening the buckle at the chin-strap. Make sure this fits comfortably, but securely enough that it won’t come undone during a ride.
To ensure both safety and comfort when wearing a bike helmet, these four steps must be followed carefully:
- Tighten straps until they are snug but not too tight
- Position straps correctly behind ears
- Lock them in place with buckle
- Ensure fit is comfortable yet secure
By making these adjustments properly, you can guarantee that your helmet will stay on securely while cycling and protect you from potential injuries down the road.
Ensuring Proper Fit
Once you have the helmet positioned correctly, it’s time to adjust the straps. Start by fastening the buckle under your chin and make sure it’s snug but not too tight. Your helmet should fit snugly on your head, not tilted back or forward.
Make sure that the straps are evenly adjusted so that they form a “Y” shape just below your ears. That will help keep the helmet in place while you ride.

Next, adjust the slider on both straps to form a ‘V’ shape just below your earlobes but above your Adam’s apple. This will keep them from slipping off your shoulders when you’re riding.
The last step is to tighten the straps until they are snug enough to stay in place without being too tight or uncomfortable.
Now that you’ve adjusted the straps properly, take a moment to check that everything is secure before hopping on your bike and going for a ride! Properly fitting and securely fastened straps are essential for keeping your helmet in place and connecting you to safety while you ride.
Connection To Helmet Safety
As a bicycle helmet adjustment expert, I know the importance of ensuring your helmet fits correctly and securely. According to the National Highway Traffic Safety Administration, wearing a properly fitted helmet can reduce the risk of head injury by up to 85%.
It’s essential that we take all necessary steps to protect ourselves from potential harm while riding. When adjusting the straps on your bicycle helmet, it’s important to get it just right. The straps should be snug enough that your helmet won’t move around on your head when you turn or look side-to-side.

You want your helmet to stay firmly in place in case of an accident or crash. Make sure you adjust the strap under your chin so that it fits comfortably but not too loosely; this helps ensure that your neck will be protected in a crash.
Take some time to make sure everything is adjusted correctly and firmly fastened when you wear your bike helmet. This will help keep you safe and secure as you go for a ride. Remember, even though helmets cannot prevent all injuries in a crash, they are proven to reduce the risk of serious injury or death significantly.
Frequently Asked Questions
How Often Should I Replace My Helmet?
It’s important to know when to replace your bicycle helmet.
Generally speaking, experts recommend replacing your helmet after any crash or impact, regardless of how minor it may have been.
It’s also recommended that you replace your helmet every five years or so due to normal wear and tear, even if you haven’t had an accident.
Make sure to check the manufacturer’s website for specific recommendations.
Ultimately, if you notice any damage, fraying straps, or a decrease in comfortability – it’s time to invest in a new one!
What Materials Should I Look For In A Bicycle Helmet?
When you’re shopping for a bicycle helmet, you want to make sure it’s well-made and up to the task of keeping your head safe.
For that reason, it’s important to look for helmets with high-quality materials like multi-impact EPS foam and a durable outer shell made of either plastic or carbon fiber.
These materials work together to absorb energy and protect your head from impacts.
As an added bonus, they also create a lightweight and comfortable fit that won’t weigh you down on those long rides!
Is There A Certain Type Of Helmet That Is Better For Long Rides?
When it comes to long rides, you want a helmet that is lightweight and well-ventilated.
Look for one that has an adjustable fit system so you can fine-tune the fit to your head shape.
Some helmets even come with extra padding for added comfort, so keep an eye out for those!
Also, consider getting a helmet with MIPS technology – this helps reduce rotational forces and offers extra protection in the event of a crash.
How Can I Test The Strength Of My Helmet?
It’s important to make sure your bicycle helmet is in good condition and up to the task of protecting your head.
A simple way to test the strength of your helmet is by doing a “roll off” test. To do this, hold the helmet in both hands and roll it forward and backward, side-to-side.
If it pulls off easily, then it’s time for a new one – most helmets should stay on when you roll them around like this.
So if you’re looking to take long rides on your bike, make sure you’re always wearing a helmet that passes the roll off test!
Are There Any Additional Accessories I Should Consider For My Helmet?
When it comes to bicycle helmets, there are some extra accessories you should consider.
A sweatband is great for keeping sweat out of your eyes on long rides and can help keep the helmet from slipping off.
You should also look into a visor or sunglasses clip if you wear them regularly; this will help secure your glasses so they don’t fly off when you hit those bumps.
Additionally, reflective stickers and LED lights add visibility for those nighttime rides, making them a must-have for any cyclist.
Conclusion
It’s important to make sure your helmet fits properly. Taking the time to adjust your bicycle helmet straps correctly can make a world of difference in both comfort and safety.
With just a few simple steps, you can be sure that you will be protected in the event of an accident.
Imagine yourself gliding through the wind with the straps adjusted perfectly around your head; not too loose, not too tight. You have peace of mind knowing that you are secure and safe while enjoying your ride.
A bicycle helmet is an essential part of any cyclist’s gear, and making sure it fits properly is key to having a safe, enjoyable ride every time.