
Before your first gravel tubeless ride, make sure the tire bead is fully seated and the valve is properly installed and tight. Use plenty of sealant and spin the wheel to distribute it evenly inside the tire. Adjust your tire pressure based on terrain, avoiding overinflation. Confirm your rim, tire, and valve are compatible to prevent leaks. If issues persist, check the bead, sealant, and valve before hitting the trail—there’s more to learn to guarantee success.
Key Takeaways
- Ensure the tire bead is fully seated and evenly against the rim to prevent leaks and sealant issues.
- Verify the valve is tight and properly installed to maintain air retention.
- Distribute sealant thoroughly inside the tire and confirm even coverage for effective sealing.
- Adjust tire pressure appropriately for gravel terrain to optimize grip and comfort.
- Double-check rim and tire compatibility, including valve size and tubeless-ready specifications.

GRAVELKING GKX1 Classic, 700 x 40C, Black/Brown
GravelKing X1 TLR – Aggressive yet fast-rolling pattern delivers strong grip and mud-shedding in challenging conditions, while maintaining…
As an affiliate, we earn on qualifying purchases.
As an affiliate, we earn on qualifying purchases.
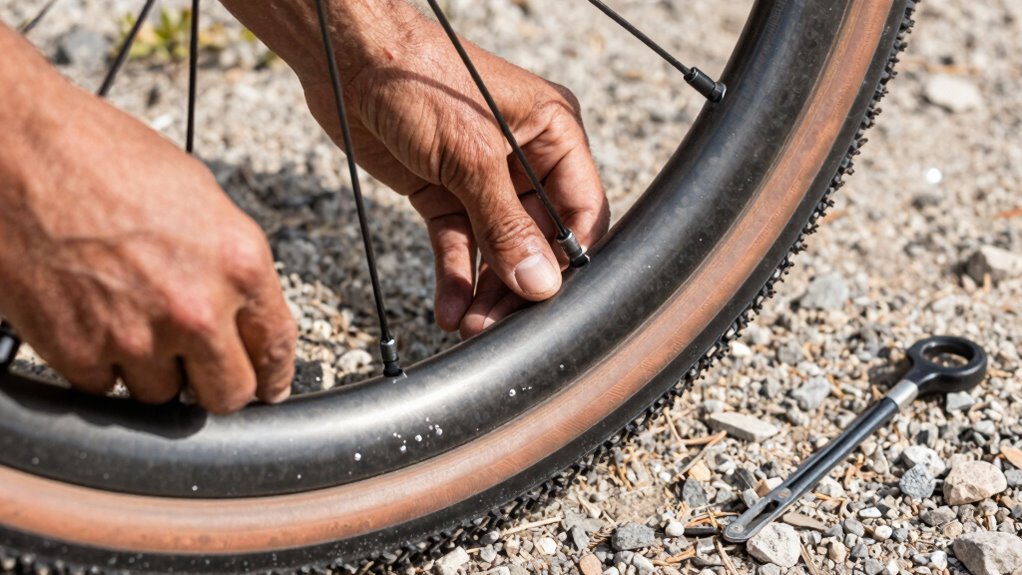
Fix These 5 Setup Errors Before Your First Ride

Are you ready to hit the gravel, but unsure if your tubeless setup is perfect? First, check the tire bead seating. If the bead isn’t fully seated, you risk leaks or poor sealant retention. To fix this, inflate the tire to high pressure and work the bead into the rim by hand or with a bead jack, ensuring it clicks into place all around. Next, focus on valve installation. A loose or improperly seated valve can cause leaks. Remove and reinstall the valve, making sure it’s tight and sealed properly. Use a valve core tool if needed to tighten the core. Proper tire bead seating and secure valve installation are essential for a leak-free, reliable tubeless setup before your ride. Additionally, confirm that your tire pressure matches the recommended range for your tires and riding conditions. Remember to inspect your sealant, ensuring it is fresh and adequately distributed inside the tire for optimal sealing performance. It’s also helpful to periodically verify rim tape to prevent tubeless leaks caused by damaged or improperly installed rim tape. Regularly checking your tire bead seating can help catch issues early and ensure a smooth ride.

ZHSMS Valve Stem Removal Tool – 20Pcs Valve Cores, 10Pcs Tire Valve Caps, 4-Way Valve Tool, Valve Core Remover Tool
What You Get – 3 x valve core remover, 1 x 4-way valve tool,10 x valve stem caps…
As an affiliate, we earn on qualifying purchases.
As an affiliate, we earn on qualifying purchases.
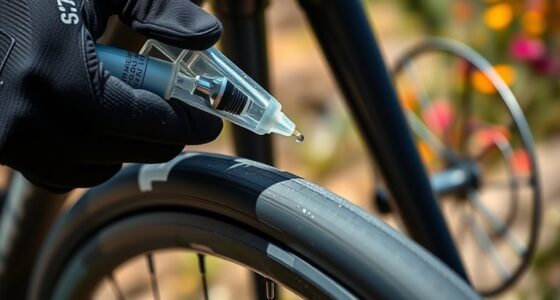
How to Properly Seal Your Tires and Avoid Leaks

Ensuring your tires are properly sealed is essential to prevent leaks and maintain consistent pressure during your ride. Start by confirming the tire bead seating is correct; the bead must sit evenly against the rim all around. If it’s not seated properly, air can escape, causing leaks. Next, apply sealant generously inside the tire, focusing on areas where leaks are most likely. Shake and spin the wheel to distribute the sealant evenly, ensuring it coats the inside of the tire and the bead. When mounting, double-check that the bead snaps into place securely. Proper sealant application combined with correct bead seating creates an effective barrier against leaks, keeping your tire sealed and pressure stable throughout your gravel ride. Proper tire sealing is a key step in preventing common issues and ensuring a smooth ride, especially when considering heat and cold maintenance to keep your gear in optimal condition. Additionally, verifying that the sealant distribution is even can help prevent future leaks caused by uneven coverage. Regularly inspecting your tires for wear and damage can also help identify potential problems before they lead to leaks or flats. Incorporating air pressure checks before each ride can further improve your setup and prevent unexpected flats.

Stan's NoTubes Tire Sealant (250ml) Long Lasting Flat Prevention, Ultra Fast Sealing, up to 1/4" punctures, Proactive Tire Repair, for Mountain, Road, Gravel, Cyclocross, and Commuter Bikes
FAST FIX: Quickly seals punctures up to 6.5mm (1/4")
As an affiliate, we earn on qualifying purchases.
As an affiliate, we earn on qualifying purchases.
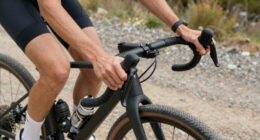
Choosing the Right Tire Pressure for Gravel Tubeless Riding
Once your tires are properly sealed and the sealant is evenly distributed, setting the right tire pressure becomes key to optimizing performance on gravel. The ideal tire pressure varies depending on the gravel terrain and your riding style. Too high, and you’ll risk reduced grip and a harsh ride; too low, and you may suffer pinch flats or lose control. Generally, aim for a pressure range that provides enough cushion to absorb bumps while maintaining enough support for efficient rolling. For rougher gravel, lower pressures improve traction, while smoother surfaces allow slightly higher pressures. Adjust incrementally and test your setup on different terrain types. Remember, the right tire pressure enhances comfort, control, and speed, making your gravel ride safer and more enjoyable. Proper tire pressure is also crucial for preventing damage to your wheels and maintaining overall safety. Additionally, understanding the science of tire pressure can help you fine-tune your setup for optimal performance.

Muc-Off Tubeless Rim Tape, 35mm – Adhesive Bike Tire Liner, Tubeless Tape for MTB/Road/Gravel Bikes – Tubeless Kit Including 10m Roll of Bike Tape
GOING TUBELESS?: Our bike rim tape is the perfect choice if you’re looking to make the switch to…
As an affiliate, we earn on qualifying purchases.
As an affiliate, we earn on qualifying purchases.
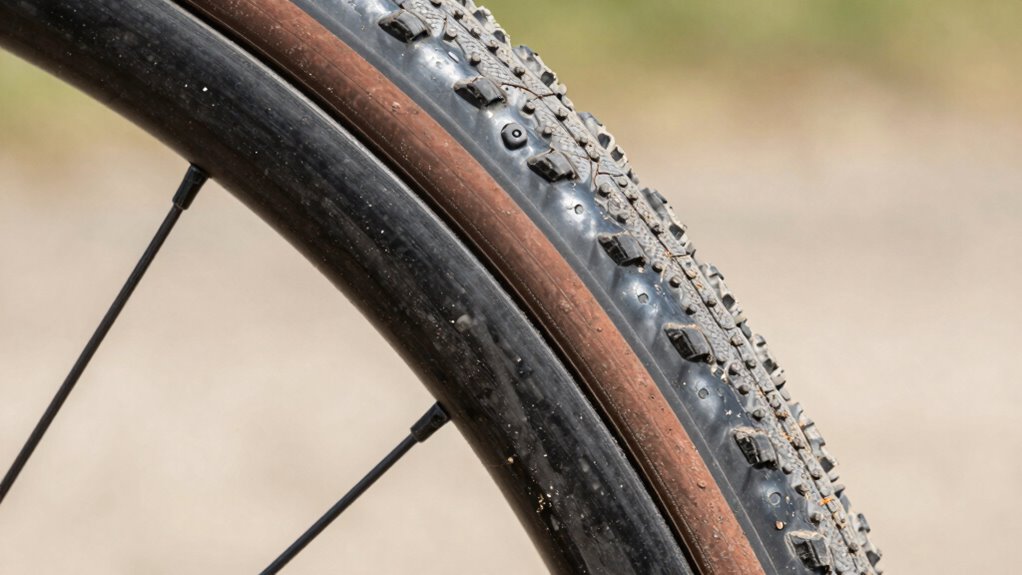
Ensuring Compatibility of Rims, Tires, and Valves for a Seamless Setup

To achieve a seamless tubeless gravel setup, you need to verify that your rims, tires, and valves are fully compatible. Proper rim compatibility guarantees the bead seats correctly, preventing leaks or blow-offs. When selecting valves, consider these key points:
- Confirm the valve stem diameter matches your rim’s valve hole.
- Choose valves compatible with tubeless setups to prevent air leaks.
- Ensure your tires are tubeless-ready and designed for your rim’s width.
- Check that the rim’s bead seats securely with your tires for an airtight seal.
Troubleshooting Persistent Issues Before You Hit the Trail

Before heading out on your gravel ride, resolving any lingering tubeless issues that could cause delays or flat tires is essential. First, check if the tire bead seating is complete; if it’s not, deflate and reseat the bead, ensuring it snaps firmly into the rim. Proper tire bead seating prevents leaks and improves sealant effectiveness. Next, examine your sealant application—if the sealant hasn’t evenly coated the inside of the tire or has dried out, it won’t seal punctures effectively. Add more sealant if needed, and rotate the wheel to distribute it evenly. Also, listen for hissing sounds or look for slow leaks. Addressing these issues before your ride will help ensure a smooth, flat-free gravel adventure. Incorporating energetic alignment into your preparation can also enhance your focus and confidence during the ride. Additionally, verifying the sealant coverage can prevent unexpected flats and improve ride reliability. Regularly checking your valve core and ensuring it’s properly tightened can also improve the overall air retention, reducing the risk of leaks during your ride. You can also consider inspecting the tire bead seating for any irregularities that might cause leaks during your ride. Performing a quick pre-ride inspection of the tire and rim interface can further help identify potential issues before they become problematic.
Frequently Asked Questions
How Often Should I Check My Tubeless Sealant During Gravel Rides?
You should check your tubeless sealant every 2 to 4 weeks during gravel rides. Regular pressure monitoring helps identify slow leaks, which can indicate sealant wear. Sealant longevity varies based on conditions, but topping it off every month ensures your tires stay sealed and prevent flats. Keep an eye on pressure and sealant levels, especially during longer rides, to maintain peak performance and avoid surprises on rough terrain.
Can I Convert Any Clincher Tire to Tubeless for Gravel Riding?
You can convert most clincher tires to tubeless for gravel riding, but tire compatibility is key. Choose tires with a bead that seals well and is compatible with tubeless rims. Keep in mind, sealant longevity varies, so you’ll need to check and top off your sealant regularly. If you pick the right tires and maintain your sealant, you’ll enjoy fewer flats and smoother rides on every gravel adventure.
What Tools Are Essential for Fixing Tubeless Setup Errors in the Field?
You’ll need a tubeless tire repair kit, which includes tire levers, a CO2 inflator or pump, and sealant. To fix setup errors, first check tire bead seating to guarantee a proper seal. Use the toolkit to re-seat the bead if needed, then add sealant to improve sealant longevity. Keep the tire inflated to the recommended pressure and regularly check sealant levels for ongoing performance.
How Do Temperature Changes Affect Tubeless Tire Pressure Stability?
Temperature fluctuations can cause your tubeless tire pressure to change unexpectedly, disrupting pressure consistency. When it’s hot, the air inside expands, increasing pressure; when it’s cold, it contracts, lowering pressure. This natural shift can lead to under- or over-inflated tires, affecting ride quality. To maintain ideal performance, check and adjust your tire pressure regularly, especially during temperature swings, ensuring your setup stays reliable from start to finish.
Are There Specific Brands or Models Recommended for Gravel Tubeless Setups?
You should consider brands like Zipp, WTB, and Stan’s NoTubes, as they offer reliable gravel tubeless setups. Focus on tire compatibility to guarantee your tires fit well with your rims, and choose models known for sealant longevity to reduce maintenance. These brands prioritize durability and compatibility, helping you avoid issues like leaks or frequent sealant top-ups, so you can ride confidently on rough gravel roads.
Conclusion
Getting your tubeless gravel setup dialed in takes a bit of effort, but it’s worth it to avoid headaches on the trail. Double-check your sealant, pressure, and compatibility to keep everything running smoothly. Don’t rush the process—sometimes, patience is the name of the game. When you’ve addressed these key errors, you’ll be ready to hit the gravel with confidence. Remember, a stitch in time saves nine, so fix these issues now and enjoy a smooth ride ahead.